A working demo for makers who need more than talk
The client was a private training and product development team based in Midrand, serving small workshops, designers and emerging founders from Gauteng and beyond. They needed an event that felt grounded in real production rather than a sales presentation, with enough detail for people to ask questions about materials, tolerances, finishing and turnaround times.
The audience included product designers, craft founders, workshop technicians and a few early-stage brand owners from Johannesburg, Pretoria and online. The format had to work for both hands-on visitors and remote attendees, so the programme needed clear sightlines, good audio and a pacing that kept attention without rushing the actual making.
We agreed on a practical demo format with short explanations and visible sample stages. No fluff, no long speeches, just the kind of information people can take back to a table, a cutting list or a workshop floor.
- Location: Midrand, Johannesburg
- Format: live fabrication demo with guided audience walk-throughs
- Attendance: 120 in-person and 48 online
- Run time: 1 day, with a 2 hour setup window
Brief, constraints and the production reality
The main constraint was time. The venue in Midrand had a short access window and strict load-in rules, so everything had to arrive packed for fast placement. We also had to keep the floor clear for movement between the demo table, display stands and the camera position for the online audience. The room was bright during the day, then darker by late afternoon, so lighting had to handle both without making the finishes look false.
Another issue was power. The site could not be treated as a guaranteed always-on space, and the client wanted to avoid interruptions if load-shedding shifted. We planned the programme around a back-up power pack for key lighting and audio, plus a sequencing plan that could keep the event moving if one station needed a reset. It sounds basic, but on the day that sort of planning is what keeps a room calm.
The brief also asked for materials that would be easy to compare side by side. That meant showing unfinished, primed, painted and sealed samples next to one another, with labels that could be read from a metre away. Some finishes look good in a brochure and fall apart under fluorescent light, so we used the demo to show the real thing.
- Key constraint: short venue access and controlled load-in
- Power plan: back-up support for audio and essential lighting
- Display requirement: sample stages visible from 1 to 5 metres
- Audience mix: live visitors plus online viewers in other cities
What we supplied on the day
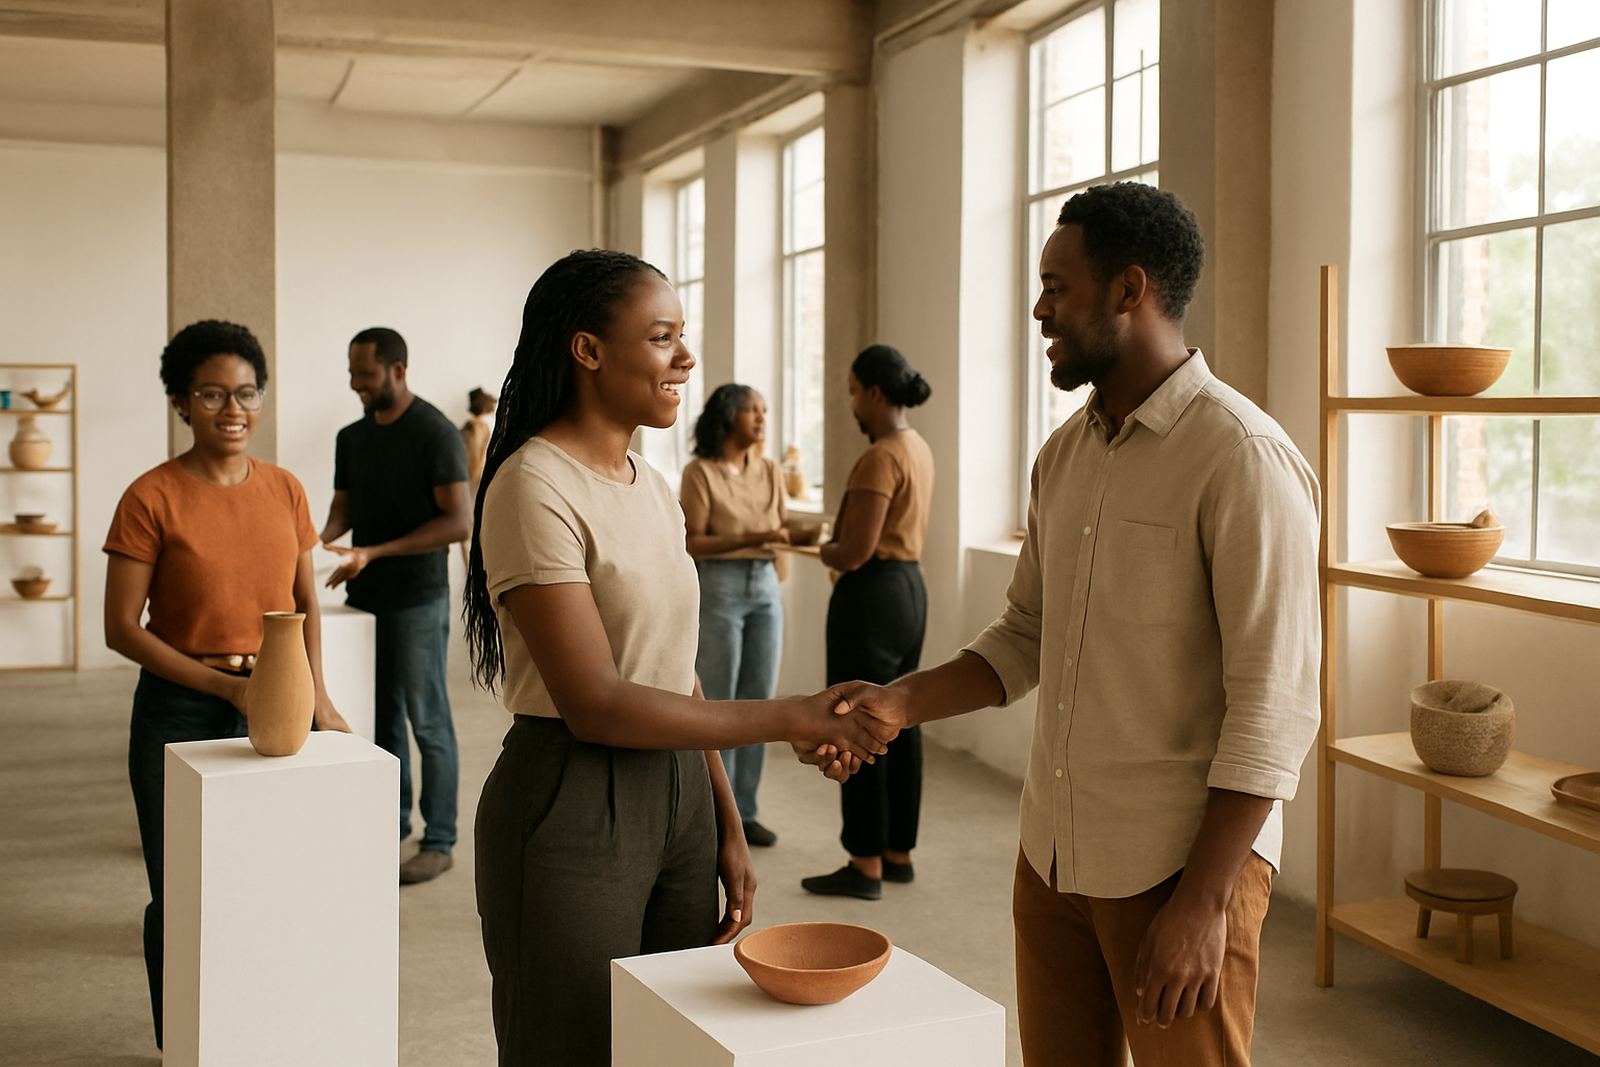
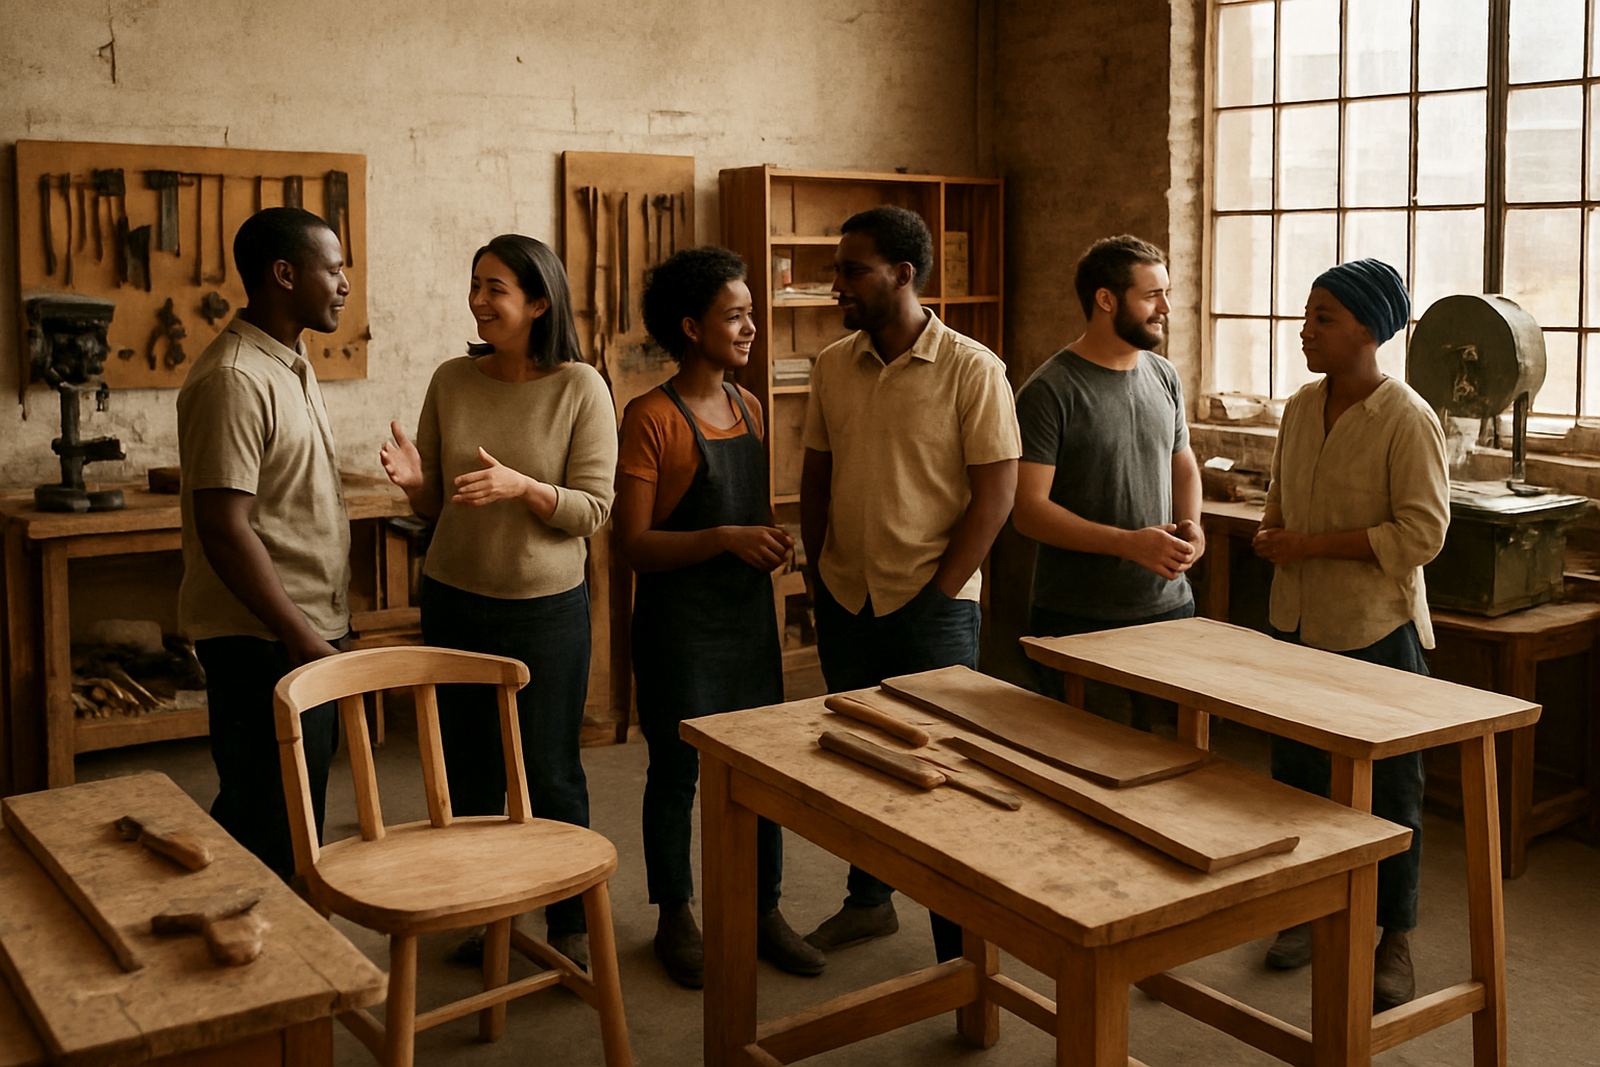
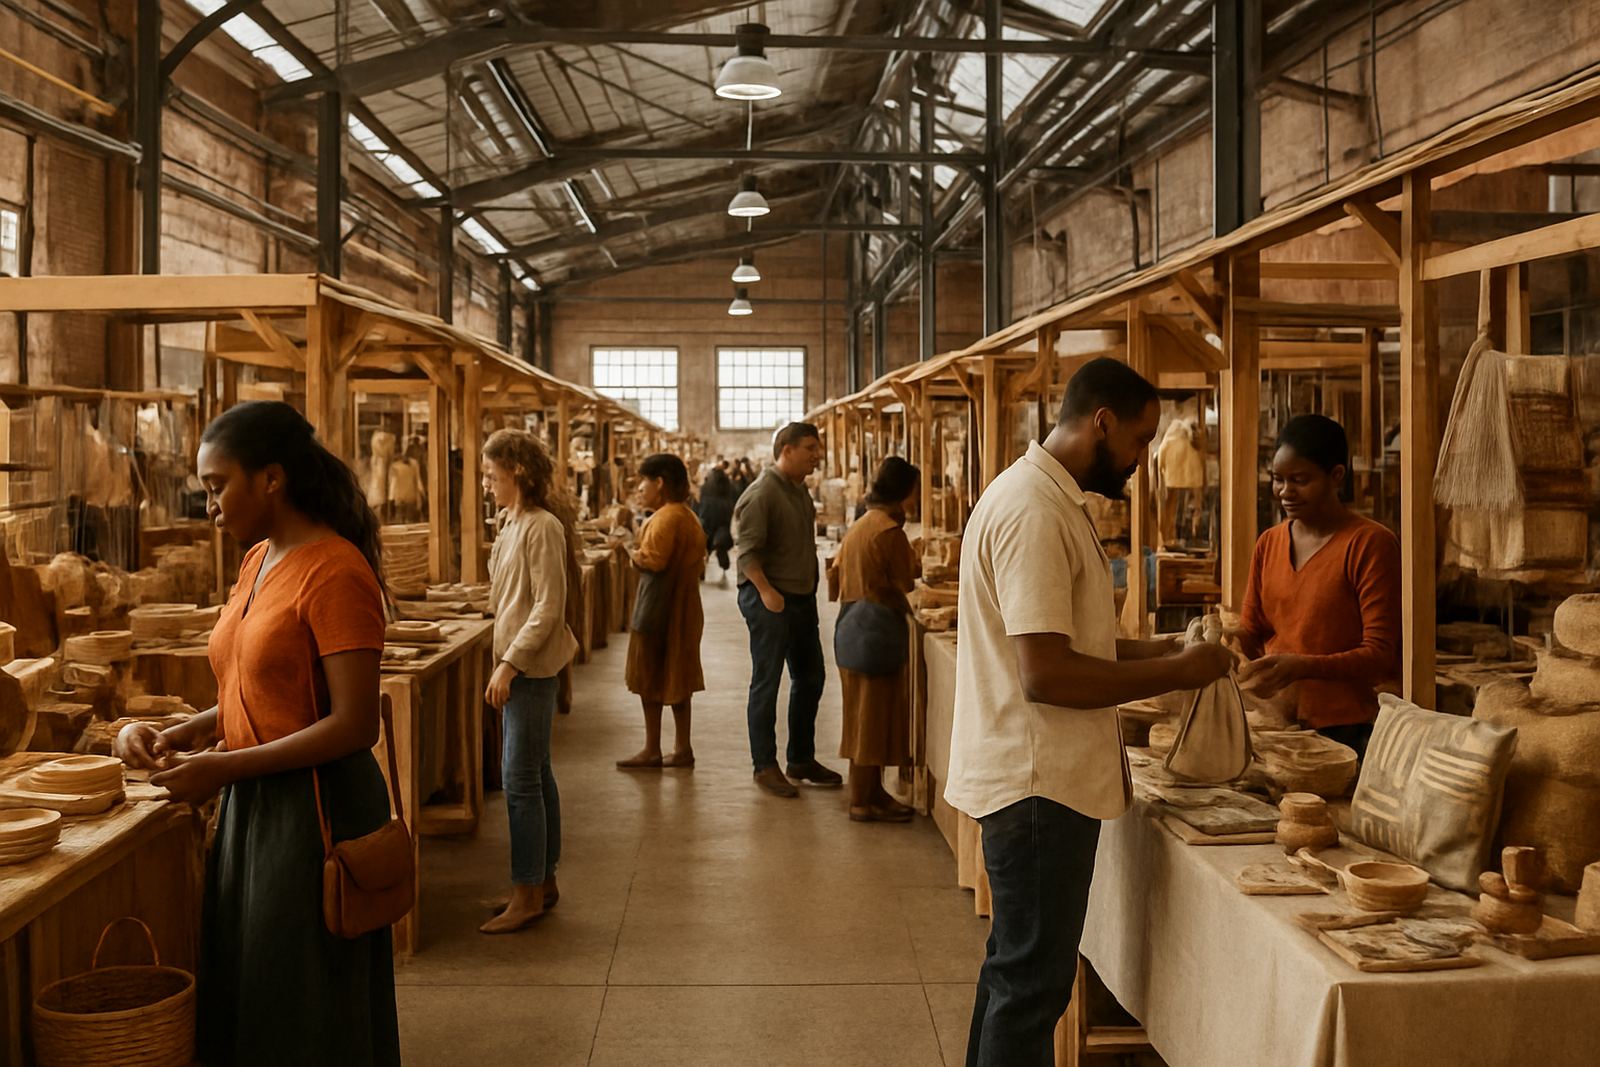
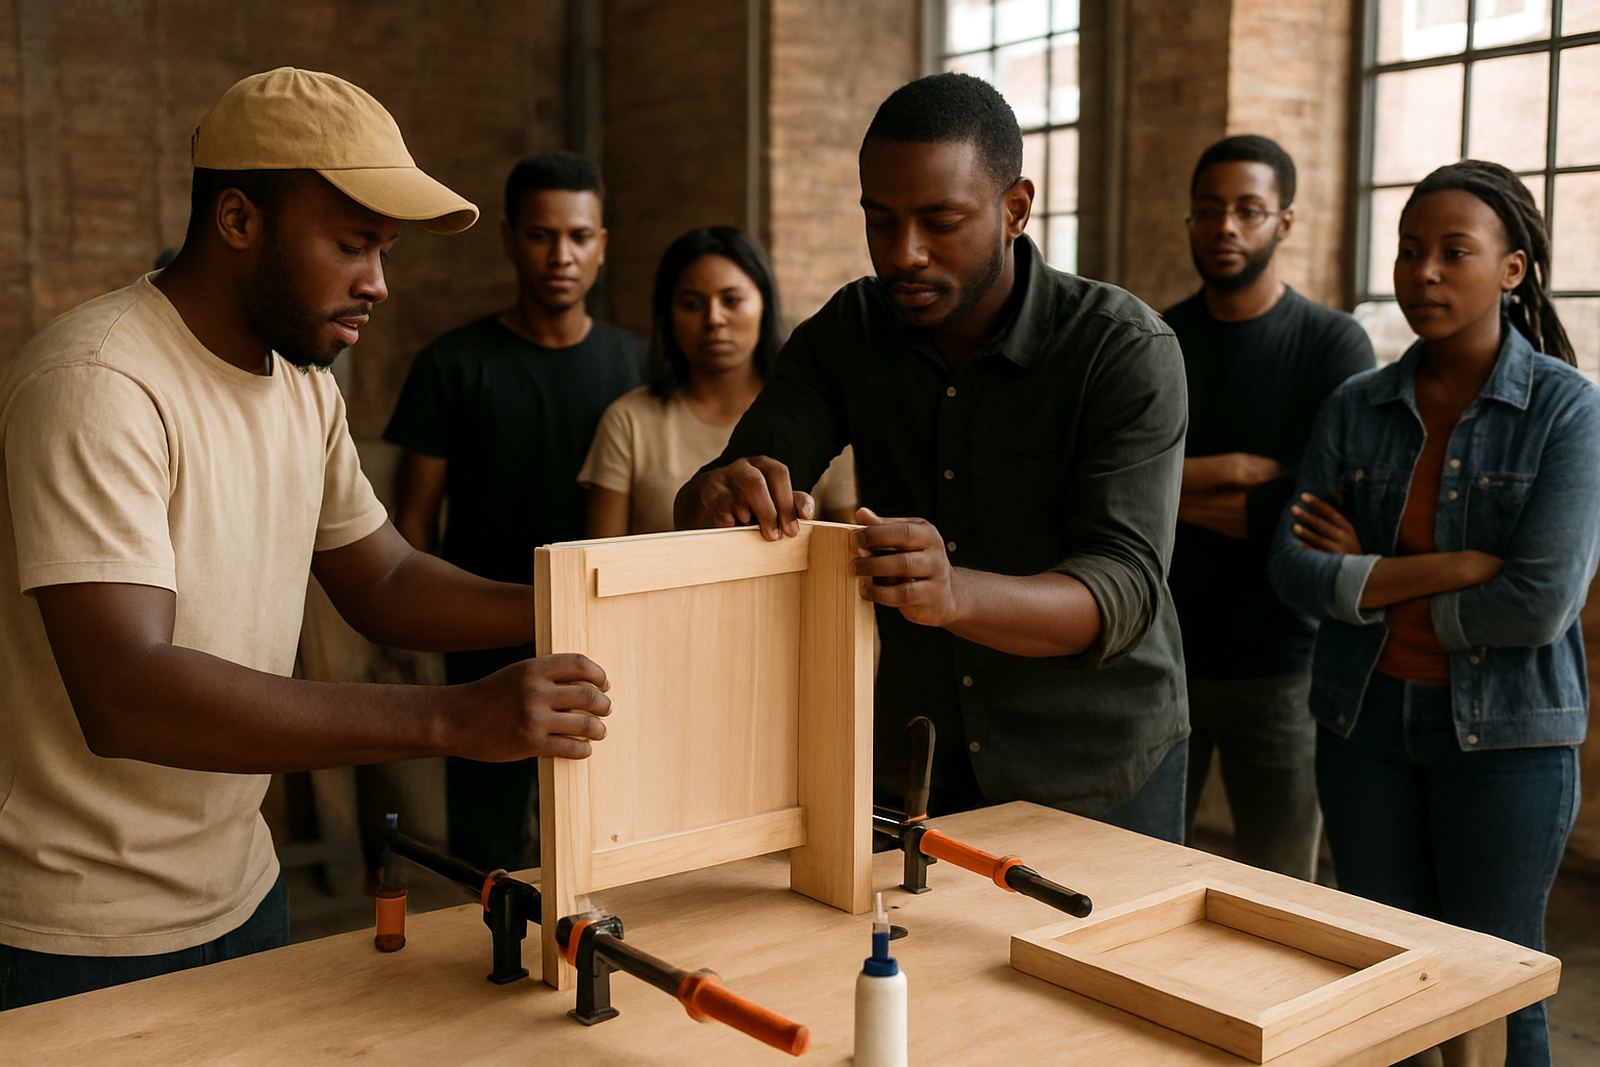
We handled the full event build, from layout and signage through to the sample tables and audience flow. The setup included a central fabrication bench, two display plinths, a finishing wall, one registration point and a side area for the mentorship and Q and A session. The room was arranged so that people could move clockwise, see the process in order and not crowd the working surface.
The demo content covered cutting, assembly, sanding, surface prep, sealing and final presentation. We also prepared a few mock-up units in different states of completion, because people learn faster when they can compare a rough edge to a clean finish. The photographer captured detail shots throughout, while the digital community team managed the online session and kept questions coming from remote participants.
To keep the event practical, we supplied simple printed cards with material notes, curing times and basic care instructions. Those cards were especially useful for attendees from smaller studios where one person often has to manage both making and client communication. It gave them a reference they could use later without having to rely on memory alone.
- Stage and layout coordination
- Creator photography and detail coverage
- Online session hosting for remote attendees
- Printed process notes and sample labels
Timeline and turnaround in three weeks
The project ran over three weeks from first planning call to final event wrap. Week one focused on scope, audience numbers, equipment needs and the sequence of the demo. Week two covered sample preparation, signage, run sheets and checking the venue access plan. Week three was dedicated to final setup, rehearsals and the live programme itself.
That timeline was tight, but manageable because the brief stayed clear. We did not waste time trying to make the event into a large conference. It was a focused showcase for people who wanted to understand process, not just see finished work on a stand. The tight schedule also helped us sharpen the content, because every item had to earn its place.
By the day of the event, the team had tested the speaking order, confirmed camera positions and timed the transitions between sections. There was one small delay while a finish sample was dried off after final handling, but the programme stayed on track and the audience did not lose momentum.
- Week 1: brief, layout and content planning
- Week 2: sample prep, signage and run-sheet finalisation
- Week 3: venue setup, rehearsal and live delivery
- Total turnaround: 3 weeks
Results that the room could actually use
The event produced exactly what the client wanted: stronger audience understanding, better questions and more useful follow-up conversations. People asked about production minimums, finish durability, pricing logic and how to make a small run feel consistent from unit to unit. That shifted the tone from casual interest to real commercial discussion.
Several attendees used the mentorship and partnership windows to ask for help with their own product lines, especially around pricing and market readiness. The online audience also responded well to the process-led format, because it was easy to follow even if you were not physically in the room. The mix of demonstration and practical explanation worked well for both new makers and more experienced studio teams.
From our side, the strongest result was the clarity of the programme. When people can see how something is made, they ask better questions and make better decisions. That is what the demo delivered, and it held up whether someone was standing next to the table or joining from another city.
- Clearer audience understanding of process and finish quality
- More practical questions about pricing and production planning
- Good engagement from both live and online attendees
- Useful follow-up for mentorship and collaboration opportunities
What we would keep for another live fabrication demo
We would keep the format small, clear and sequenced. For this kind of event, the biggest mistake is trying to pack in too many messages at once. Three or four process points, shown properly, are more valuable than ten rushed talking points. We would also keep the sample set highly visible and label everything in plain language, because makers do not need jargon they need facts.
If we repeated the project, we would budget a little more time for the finish comparison station and bring an extra camera angle for close-up detail. We would also keep the back-up power plan in place, especially for evening sessions in Johannesburg where the lighting change can come on fast and the room can look flat if you are not ready.
For a client in Midrand or anywhere else in Gauteng, this kind of demo works best when it respects the audience’s time and the realities of making. That means proper planning, visible process and a team that can keep things moving without making a fuss.
Key facts
| Project type | Fabrication demo and creator showcase |
|---|---|
| Location | Midrand, Johannesburg |
| Audience | 120 in-person, 48 online |
| Timeline | 3 weeks from brief to event |
| Core services | Event production, showcase curation, photography, online session hosting |
| Key focus | Making process, finishes, production thinking and audience Q and A |