What the Maker Tools Orientation covers
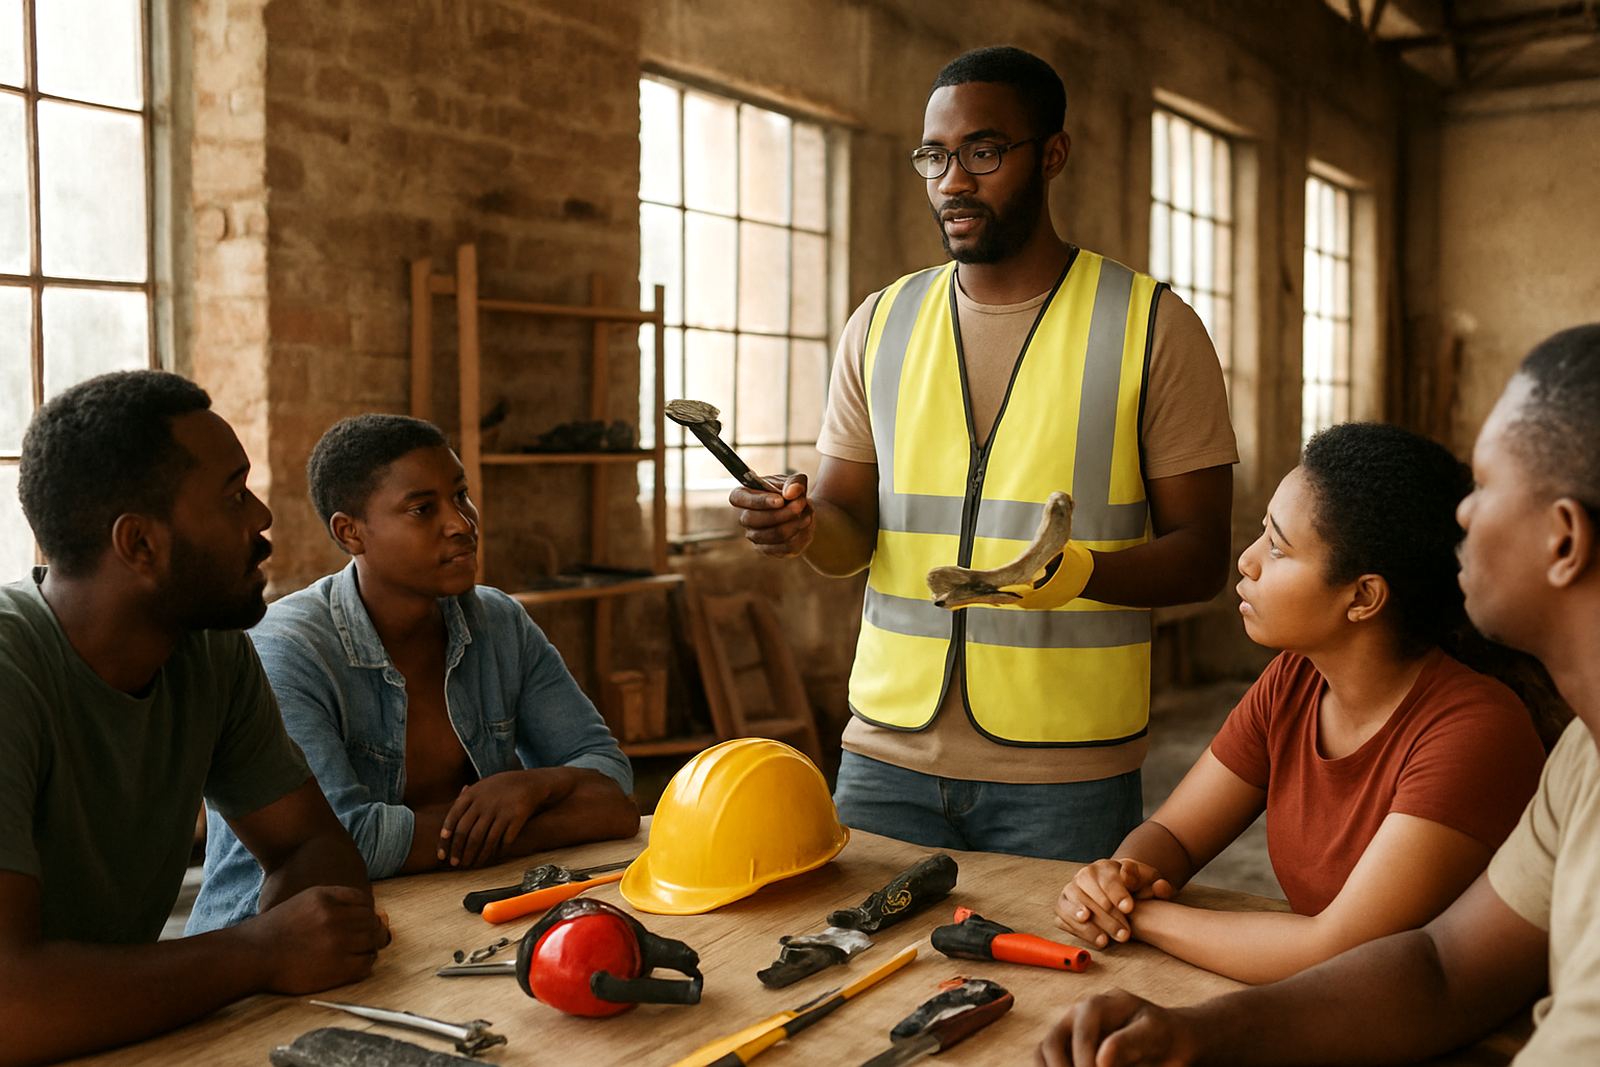
Maker Tools Orientation is an intro session for people working with hand tools, benchtop equipment and basic workshop processes. It is built for creators who want to understand what each tool does, how to use it safely, and how to plan a small job without wasting material or time.
The session is practical from the first minute. We cover workshop rules, PPE, clear working zones, machine checks before use, and how to read the basic signs on switches, guards and labels. Teams also learn how to match the right tool to the right material, which matters when you are working with timber, light metals, foam, plastics or mixed media. That saves money and cuts down on rework, which every maker in Johannesburg already knows can eat into a full day.
It is useful for new members in a shared space, but also for experienced makers who need a refresher before taking on a new process. The session can be shaped around your equipment list, so a ceramics studio, fabrication room or creative workshop can focus on what matters most to the people actually using the space.
Session sizes and format options
Maker Tools Orientation is offered in a few practical formats so it can fit a small studio or a bigger group programme. Sessions can be arranged for 1 to 6 people, 7 to 15 people, or a larger group up to 25 when the room and supervision allow it. Smaller groups work well for hands-on questions, while larger groups suit member inductions and chapter meetups.
Format options usually include a 60 minute intro, a 2 hour guided practical, or a half-day session for teams that want more time on planning and safety. Online sessions work well for theory, tool selection and production planning. In-person sessions suit physical tool handling, workstation layout and safety walk-throughs.
- Small group: 1 to 6 people, best for new starters and focused support.
- Team induction: 7 to 15 people, suited to maker spaces and creative studios.
- Workshop session: up to 25 people, ideal for chapter events or mixed skill groups.
- Session length: 60 minutes, 2 hours, or half-day depending on your needs.
Where this works best for makers in South African studios
This orientation fits any setting where people use shared tools and need a clean, safe way to work. It suits makerspaces in Braamfontein and Newtown, studio collectives in Rosebank, community workshops in Soweto, and training rooms in Pretoria, Durban and Cape Town. It also works well for pop-up maker hubs, school holiday programmes, NGO projects and private creative teams that bring in part-time users.
Because many spaces work around municipal rules, power cuts and limited storage, the session also covers practical planning. That includes keeping tools off damp floors in coastal areas, storing consumables safely, and setting up a workflow that still runs when load-shedding interrupts the day. In humid places near the coast, rust control matters. In busy city spaces, the main issue is keeping circulation clear and making sure people know where everything is after a session ends.
The orientation is a good fit if your team shares tools across different projects or rotates members through the same room. It gives everyone the same baseline, so the maker on Monday and the helper on Friday are working from the same habits, not guesswork.
Power, gas and installation basics
Maker Tools Orientation is not a heavy install job, but it does help to check your space before the session. For in-person training, you need enough room for a clear bench area, safe walkways and access to the tools being discussed. As a guide, allow at least 2 m by 3 m for a small demo station, and more where larger equipment or group movement is involved.
If your tools use electricity, check the available supply, plug point position and circuit capacity before the session starts. A few tools draw steady power, while others have a higher start-up load, so it is worth knowing what can run together and what should not. If gas is part of your process, make sure cylinders are upright, secured and stored as required by your building rules. Ventilation is important too, especially where heat, fumes or dust can build up.
- Confirm the room size and whether the session is seated or hands-on.
- Check plug points, cable condition and whether backup power is available.
- Keep gas equipment outside the main footpath and away from heat sources.
- Plan for ventilation, lighting and dust control before the group arrives.
For online sessions, the only real setup needed is a stable connection, a camera angle that shows the relevant tools or workspace, and enough time for questions at the end.
Care, upkeep and what to watch during shared tool sessions
Good tool habits start with simple care. After each session, tools should be cleaned, checked for wear, and returned to their proper place. Blades, bits, clamps, guards and cords need a quick visual inspection before and after use. If something is loose, cracked or running hot, take it out of service until it has been checked properly.
For shared workshop spaces, servicing should be planned rather than done only when something fails. That means setting a basic schedule for cleaning, lubrication where needed, and replacement of items that wear out often. In a busy room, the person handling the tools should also know who signs off on repairs. That keeps things clear and avoids the usual “I thought someone else fixed it” problem.
We also look at how to store tools between sessions so they do not pick up moisture, dust or damage. In Johannesburg that might mean a dry lockable room. In Durban or Cape Town, it may mean extra attention to humidity and corrosion. It is plain housekeeping, but it makes a real difference to how long equipment lasts.
What to confirm before you book a pop-up slot
Before booking Maker Tools Orientation, it helps to know what your team already has and what you want to improve. Make a list of the tools on site, the materials you use most often, and the level of experience in the room. A team of beginners needs a different session from a group that already works with saws, drills or heat tools every week.
Check the following before you order:
- Tool list: which tools are in use, and which ones need safety attention.
- Group size: how many people need the session at the same time.
- Space: whether the room can handle movement, storage and a demo area.
- Power or gas: what the space can support safely and what must stay off-site.
- Language needs: whether the team needs a mix of simple English, local terms or extra written notes.
- Follow-up: whether you want a single session or a short series with feedback after use.
If you are ordering for a chapter meetup or a shared programme, it also helps to include the site location, the building rules and any access limits. That makes it easier to plan the session properly the first time round.
Why this orientation works for creator teams
Maker work is easier when people understand the basics before they touch the tools. This orientation gives teams a common starting point, so the room runs better, the process feels less rushed, and mistakes drop. It is practical, straightforward and built for the way South African creators actually work, with mixed spaces, changing power supply, and very little time to waste.
For teams in Braamfontein, Pretoria, Durban, Cape Town or Nairobi, the value is the same: safer use, better planning and clearer decisions before production begins. For newer members, it builds confidence. For experienced members, it sharpens the way the whole space operates. That is the point, and it is what makes the session worth booking.
Key facts
| Session length | 60 minutes, 2 hours, or half-day |
|---|---|
| Group size | 1 to 25 participants depending on format |
| Format | In-person or online |
| Space needed | From 2 m by 3 m for a small demo station |
| Power needs | Access to standard plug points or site-specific supply check |
| Gas needs | Only where your workshop uses gas-based equipment, with safe storage and ventilation |