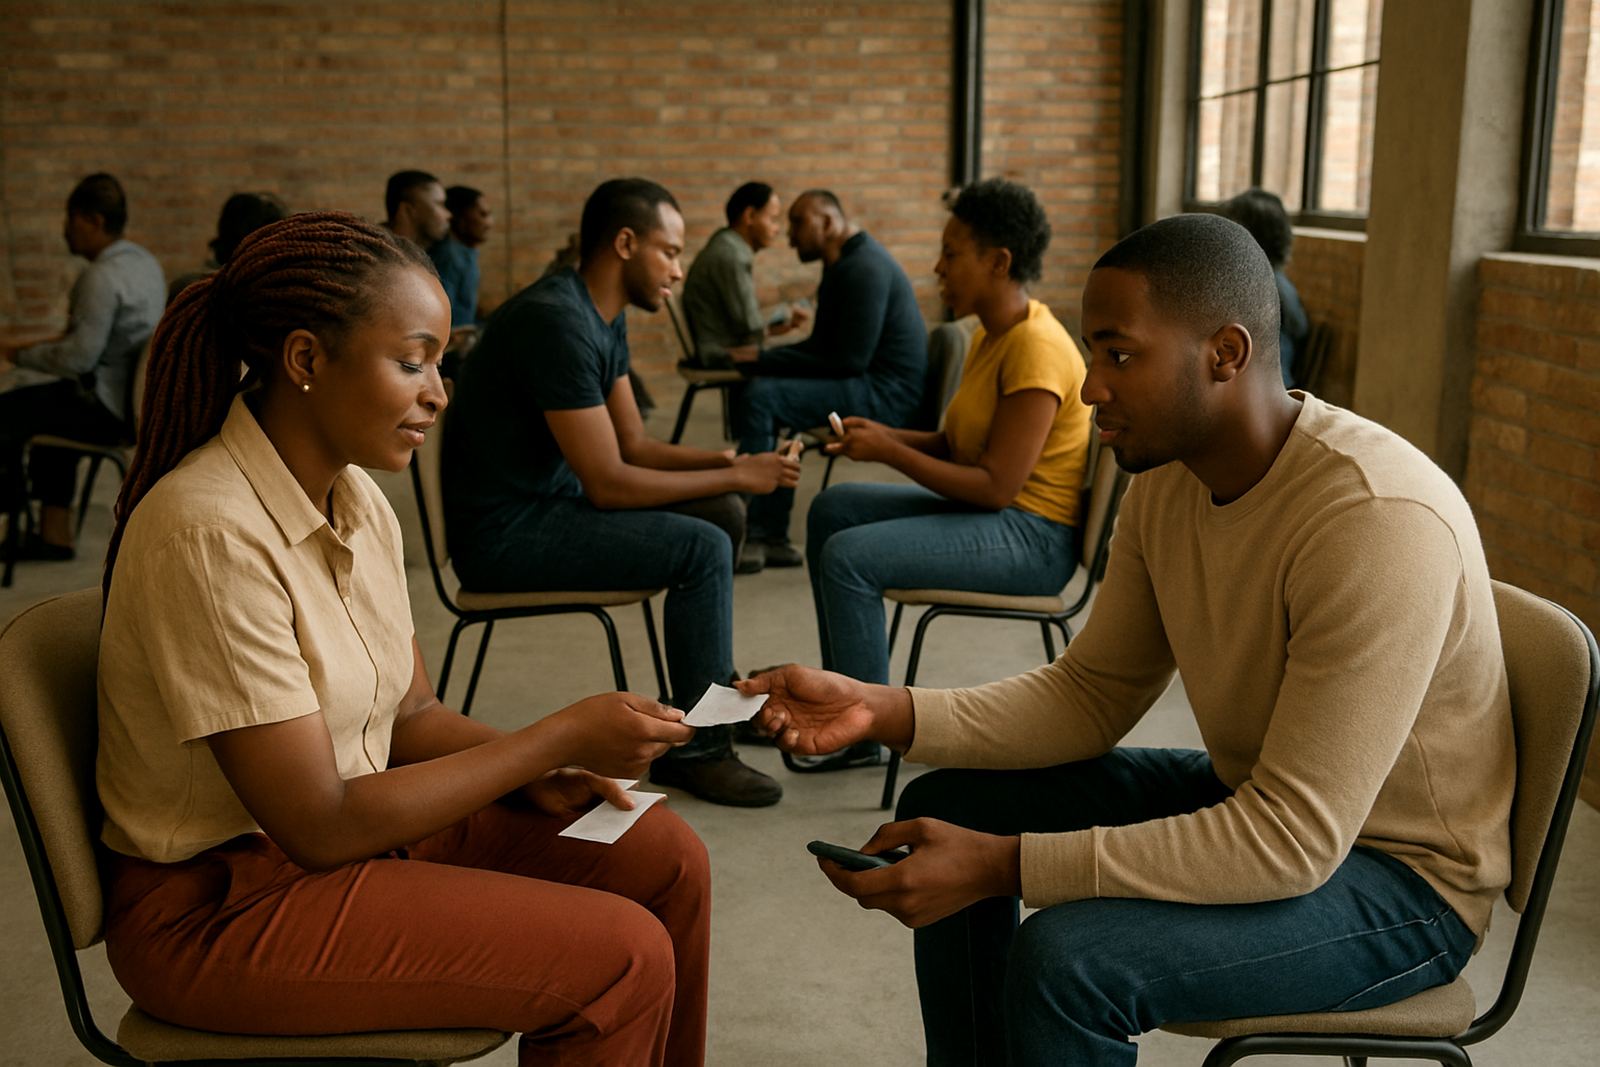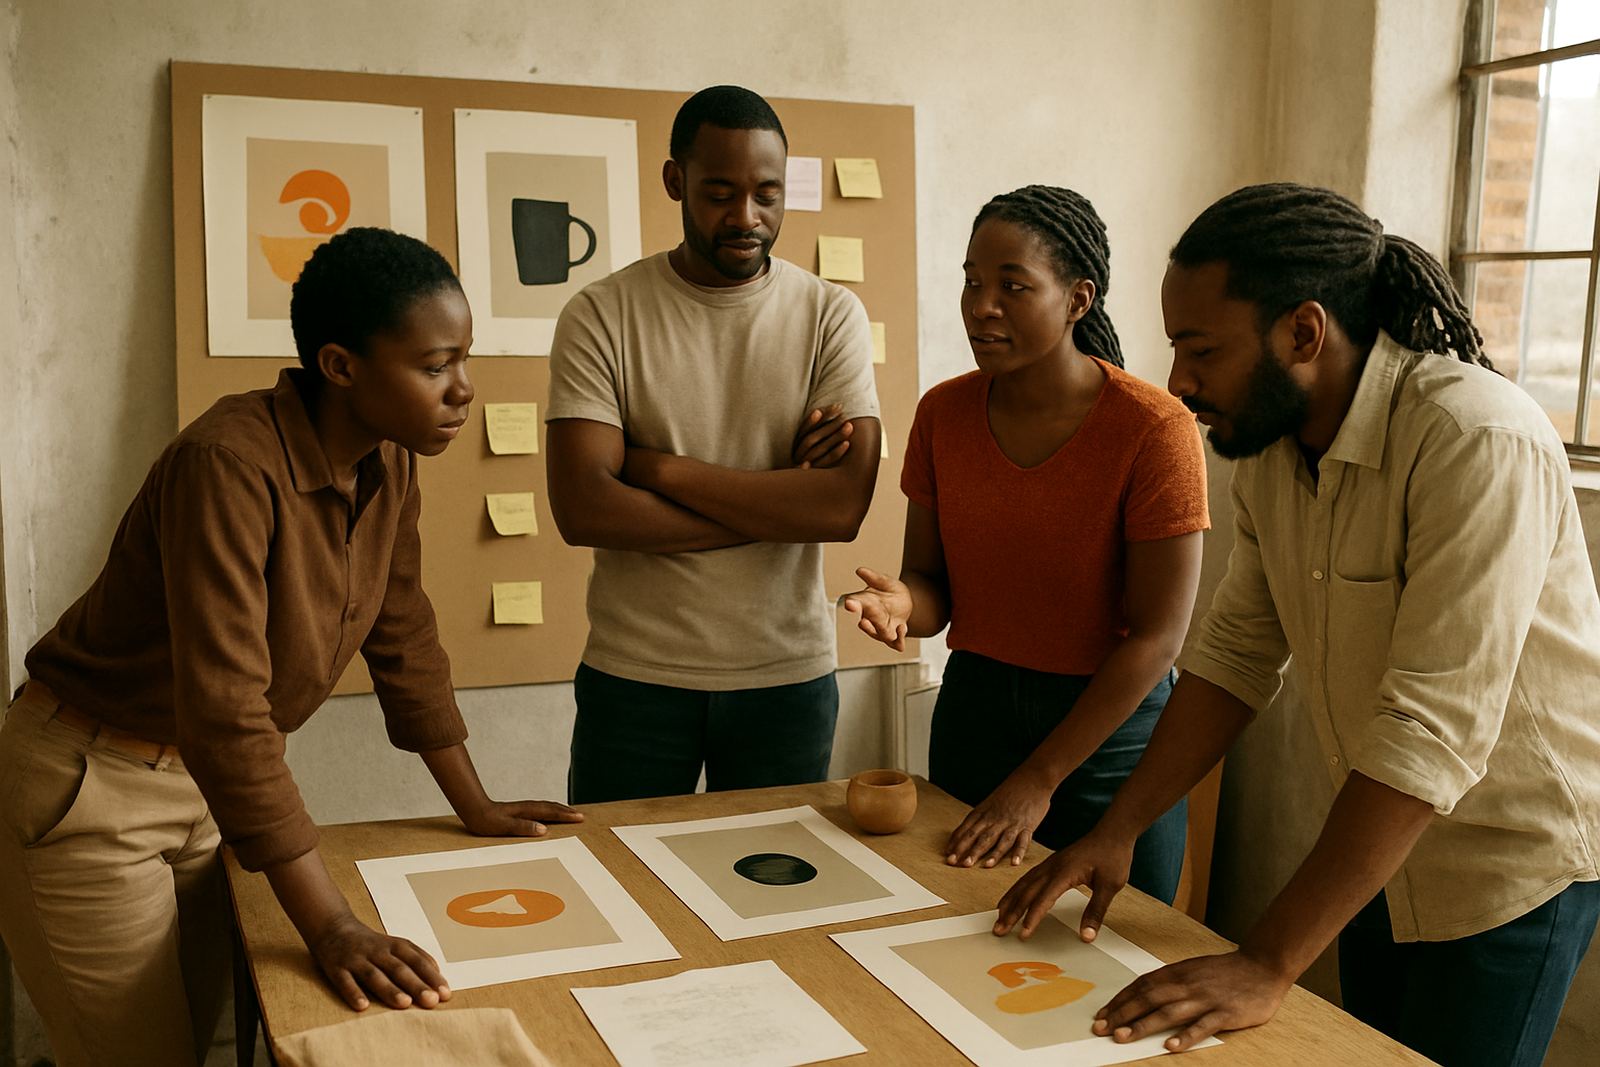

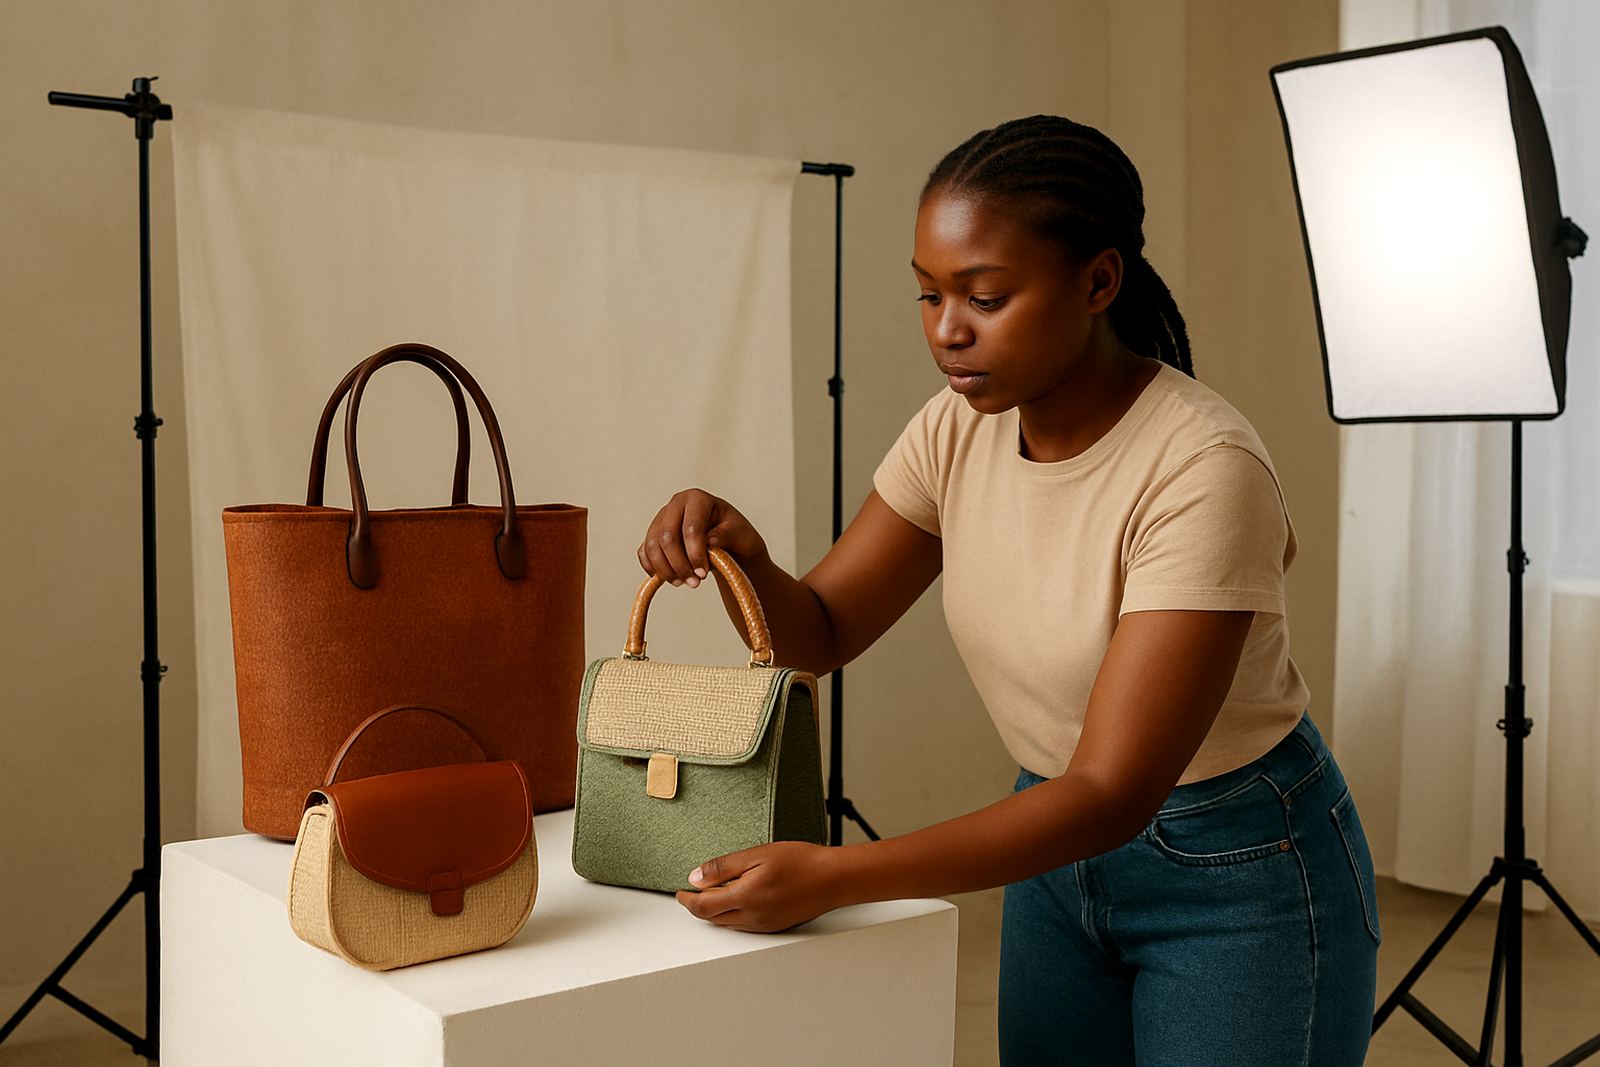
What a Maker Photo Day Covers
A Maker Photo Day is a planned photo session for creators who want strong images without the pressure of trying to sort everything out during a busy market week. It suits product designers, workshop teams, digital creators with physical products, and small creative businesses that need cleaner visuals for sales and media use. The session can focus on finished products, hands-on process images, studio style portraits, or a mix of all three.
We keep it practical. You arrive with your items, a short brief and any key props, then the session is organised around the shots you need most. That might mean flat lays, on white backgrounds, detail shots, scale shots, packaging images or lifestyle frames around a workbench. If you are building a catalogue or preparing for a showcase, we can also help capture a neat set of consistent images for the same collection.
- Finished product photography
- Making process and behind the scenes images
- Creative space and workshop photos
- Portraits of makers and teams
- Detail shots for online listings and pitch decks
Session Sizes and Format Options
Sessions are booked in clear time blocks so you can plan around transport, setup and post-production needs. Most members book a half day for a focused shoot, while fuller collections or multiple products often need a full day. For teams with several items or changing scenes, a longer block is better because it allows time for lighting changes, styling tweaks and reshoots if a label, reflection or shadow needs attention.
We also offer different format options depending on how you work. Some members only need clean product images. Others want a mix of process photos, working hands, packaging and social media crops. If you are coming from outside Johannesburg, it helps to book enough time for arrival, offloading and any sorting on site. Braamfontein traffic and parking can take longer than expected, especially on busy weekday mornings.
- Half day session for 1 to 3 products or a tight image list
- Full day session for larger ranges, teams or mixed content
- Photo set for clean product shots with plain backdrops
- Photo set for workshop, process and maker environment images
- Combined session for product, portrait and content crops
Where Maker Photo Days Work Best
These sessions suit makers who need images for online shops, catalogue pages, market applications, media kits, trade pitches and community profiles. They are especially useful if your work depends on texture, colour, scale or hand finishing, because a good image can show the detail that a short description cannot. They are also useful for creators who sell across provinces or into neighbouring countries and need a consistent visual standard.
Maker Photo Days work well for ceramic pieces, clothing, accessories, homeware, prints, stationery, small tech items and crafted goods. They also suit services with a physical output, such as packaging samples, workshop builds or design prototypes. If your items are large or awkward, tell us in advance so the session can be planned around space and movement. A 2 metre table is fine for many product sets, but larger items may need floor space or a wider work area.
- Online product listings and marketplace pages
- Showcase submissions and portfolio refreshes
- Funding applications and sponsorship decks
- Press features and media profiles
- Content for launch campaigns and seasonal drops
Setup, Power and Practical On-Site Needs
For a smooth session, the main thing is a clear working area with enough room to move around the products safely. A clean table, access to power for lights and a nearby place to store packing boxes are usually enough. If your items need a particular backdrop, reflective surface or hanging point, mention that when booking so the setup can be checked before the day. Most photo work does not need gas, but if your creative process involves heat tools, steaming or other powered equipment, that must be confirmed first for safety and building rules.
Power is important, especially when the weather turns dark early or load-shedding affects the day. It helps to know whether your items need time-sensitive shots, because lighting can be arranged to reduce disruption. If you are bringing delicate products, pack them so they can be opened and handled without damage. Avoid overfilling boxes, because bent corners, dust and fingerprints show up quickly in close-up photography.
- Working area: at least one clear table or floor space for larger items
- Power: standard plug points for lighting and charging devices
- Backdrop needs: plain, coloured or textured surfaces if requested
- Gas: usually not needed unless the maker process requires it
- Access: easy loading and a short route from vehicle to shoot area
How to Prepare Your Items Before You Arrive
Good preparation saves time and improves the result. Clean every product before the session, remove stickers or fingerprints, and check that zips, clasps, tags and labels are in place. If a product is part of a set, make sure the sizes and colours are complete. Bring extras where possible, because one slightly better version can make the final images stronger. For items with packaging, include both packed and unpacked versions if that matters to your sales.
It also helps to bring a short shot list. That can be as simple as front, back, detail, use in hand, packaging and close-up. If you have special instructions for angles or text that must be visible, say so early. Please also tell us if any item is fragile, reflective or prone to marks, because those details affect how it is handled and styled. A little planning goes a long way, and it usually saves a second trip.
- Clean and press items before the booking
- Bring spares for products that vary in finish or shape
- Pack props, packaging and branding materials together
- Share a clear shot list with the order of priority
- Flag any fragile, glossy or delicate items in advance
Care, Follow-Up and Ordering Checks
After the session, the files should be reviewed against the brief so the right angles, crops and uses are covered. If the images are for online sales, check that colours look true enough for your product range and that labels are readable. If they will be used across different channels, ask for the common crops you need, such as square, portrait and landscape. That saves time later when you are posting to different platforms or sending files to partners.
For care, store the finished items back in their packaging once the session is done, especially if they are sensitive to dust, heat or damp. In Johannesburg, dust and dry air can settle on surfaces fast, while coastal humidity in places like Durban and Cape Town can affect paper, fabric and finishes. If your work includes packaging or printed pieces, keep them flat and dry. When ordering a session, confirm the number of products, the image count, the file use you need and whether you want process shots, portraits or just product images.
- Check the final image count before the session ends
- Confirm the file formats and crop ratios you need
- Review colour, glare and label visibility on glossy products
- Ask for images suitable for web, print and social use
- Store finished items in a dry, dust-free place after use
Key facts
| Session size | Half day or full day by booking |
|---|---|
| Typical fit | 1 to 3 products for a focused half day, more for a full day |
| Working area | Clear table space plus room for lights and movement |
| Power need | Standard plug points for lighting and charging |
| Best use | Product, process, portrait and workshop images |
| Location coverage | Braamfontein, Johannesburg with online coordination for members across South Africa and the continent |