
What a Community Build Day includes
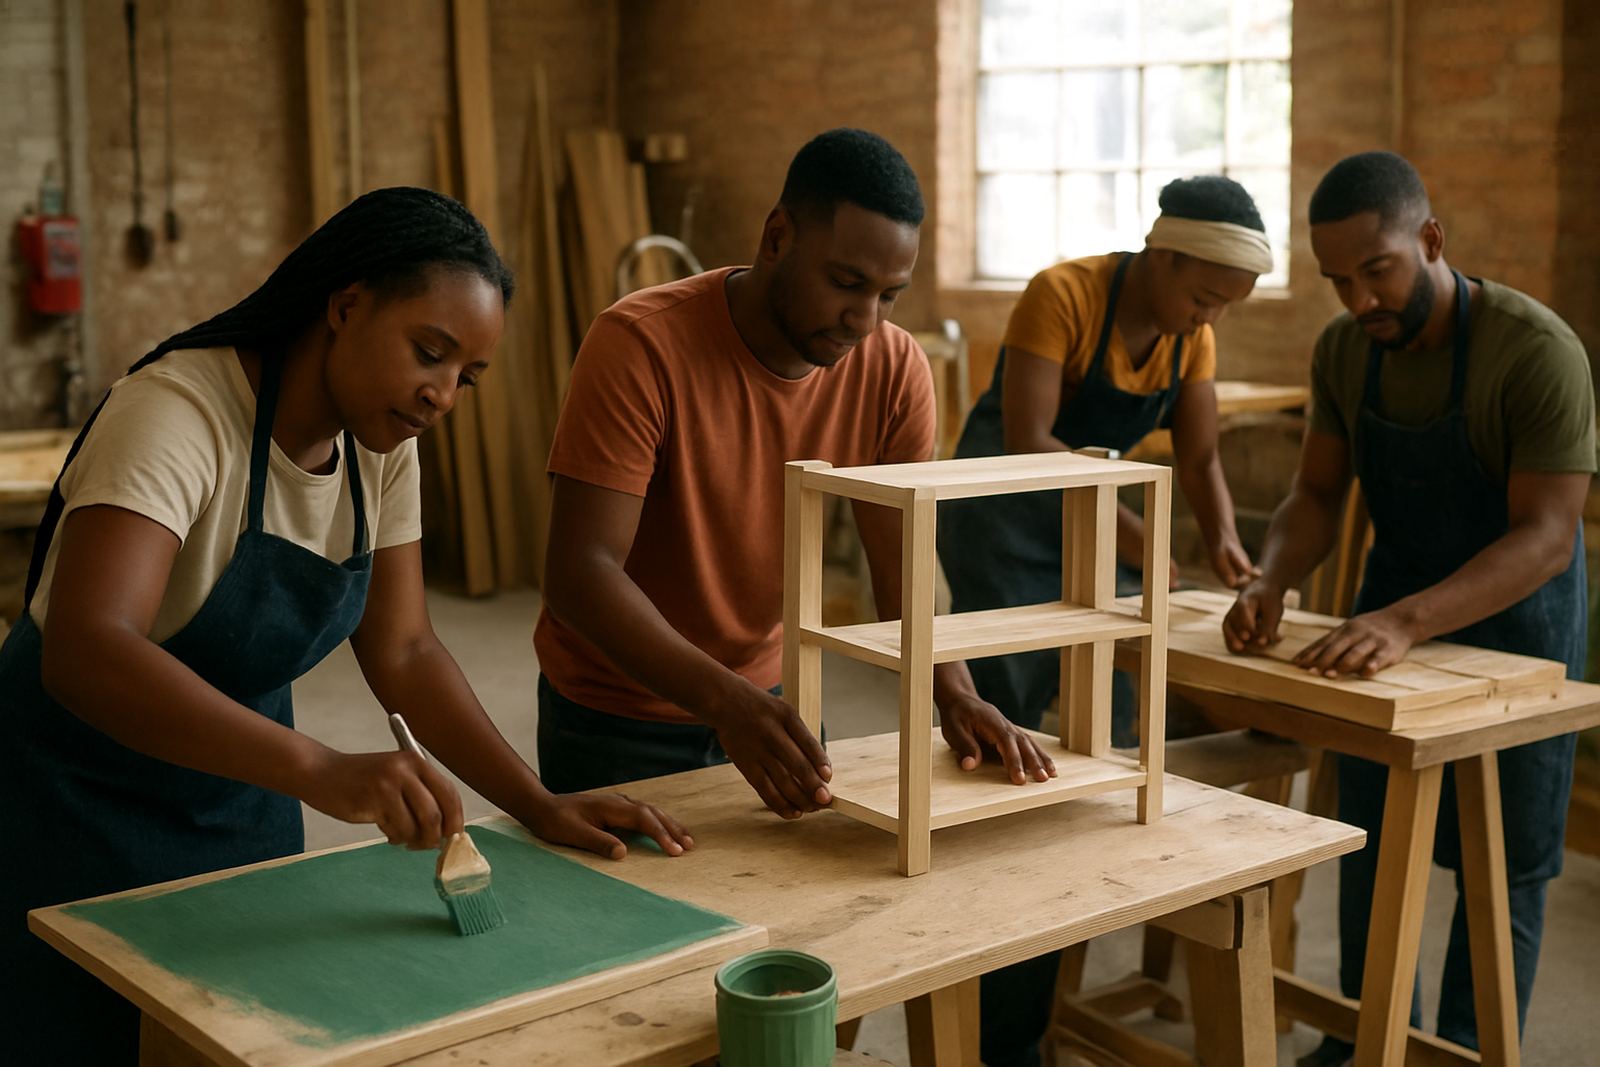
A Community Build Day brings members together for a focused work session with a clear brief, a set finish time and practical output. Depending on the project, the group may be building plinths, signage, modular display units, light installations, product stands, photo backdrops or simple shared tools for a programme or event.
Most days are planned around one main build and one support task, so the team can keep moving without waste. The aim is not to make people sit through long talks, it is to get hands on with proper guidance, shared materials and enough structure to finish the job well.
- Co-making for one-day or split-day builds
- Clear task allocation for makers, assistants and leads
- Space for sketching, measuring, cutting, assembling and testing
- Optional feedback at the end for future improvements
Sizes and format options
Community Build Day can be scaled to the size of the project and the number of people taking part. A small session may suit 6 to 10 members working on a compact display system, while a larger build can support 15 to 30 people across stations. For bigger activations, the work can be split into separate crews for structure, finishing, styling and pack-down.
Typical format options include a half-day sprint of 3 to 4 hours, a full day of 6 to 8 hours, or a two-part build over consecutive dates. If the build includes painting, drying time or curing, allow for an extra day or overnight hold. In Johannesburg, that matters when load-shedding hits and you need time to pause tools safely and resume without rushing.
- Small build: 6 to 10 people, compact output, 1 table-top or corner installation
- Medium build: 10 to 18 people, multiple modules, mixed skill levels
- Large build: 18 to 30 people, station-based workflow, suited to showcase prep
- Split build: design and prep on one day, assembly and finishing on another
Where the build day suits best
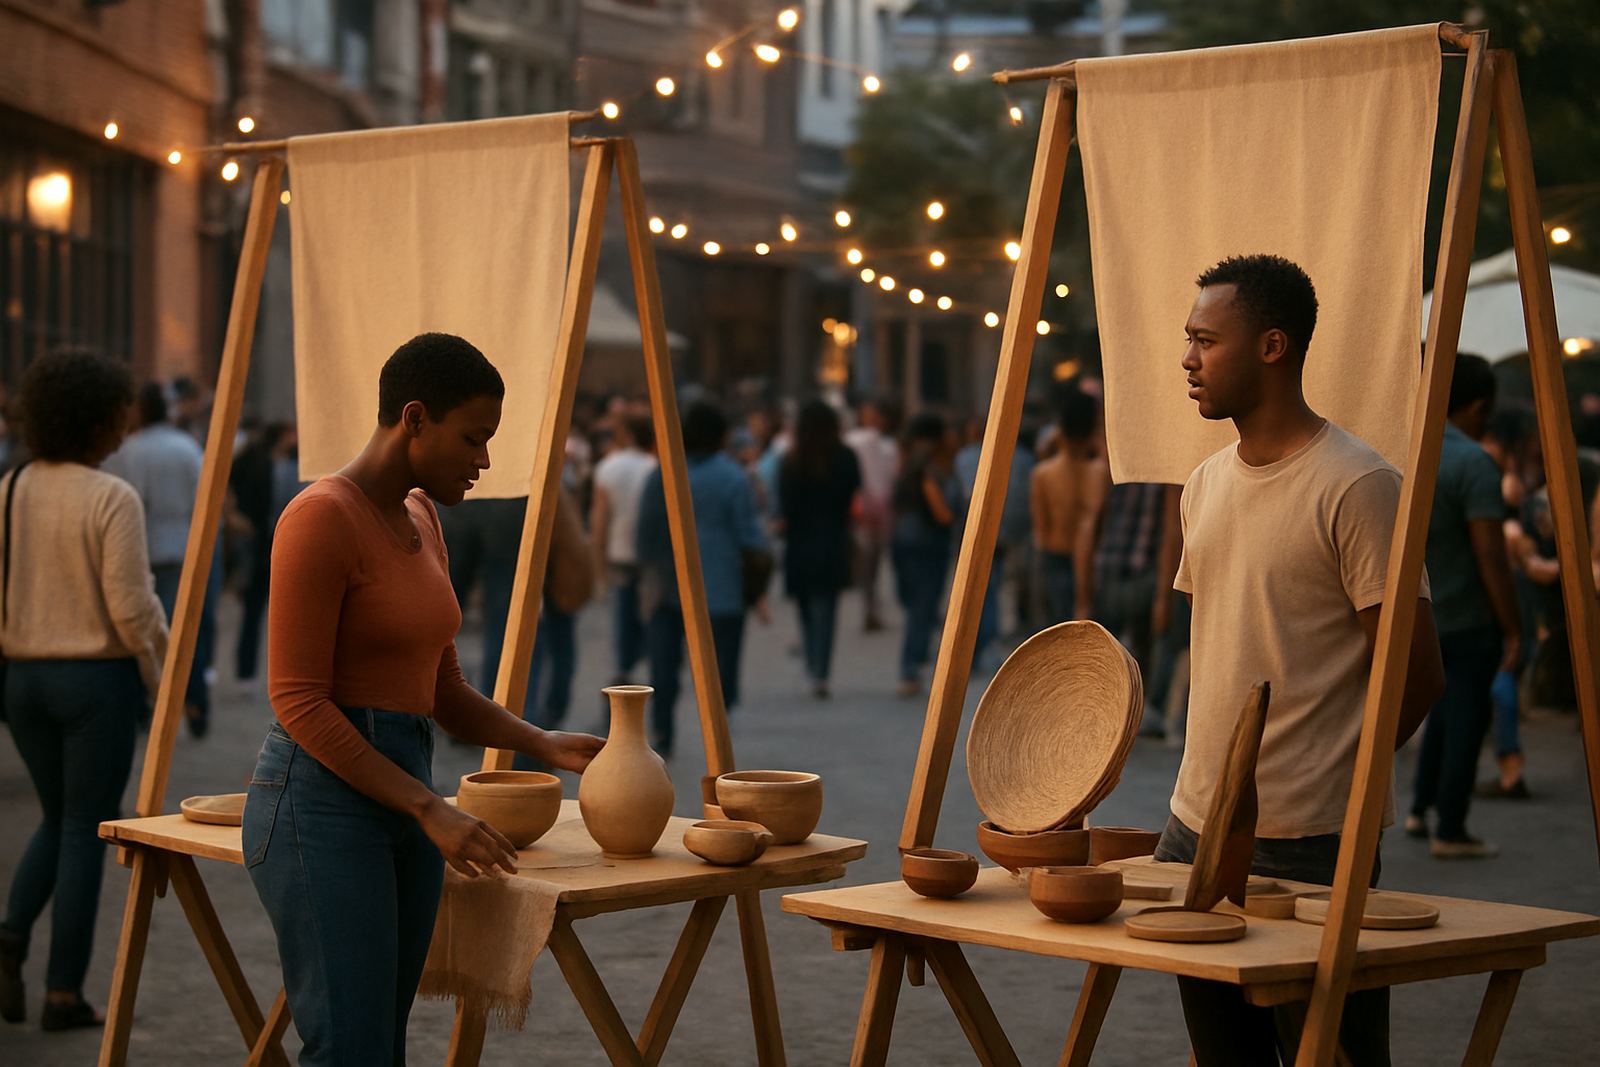
This product works well for creator meetups, exhibition preparation, market stalls, gallery support work, workshop outputs and community showcases. It also suits mentorship circles where the group wants to learn by doing, rather than only discussing ideas. If the goal is to make something visible and functional, this format is a good fit.
In Braamfontein and Newtown, the build day often works well in studio spaces, converted warehouses or community venues with enough floor area. In Cape Town or Durban, ventilation and humidity matter more, especially where paint, glue or timber finish is involved. For outdoor use, check local municipal rules, access hours and any venue requirements for loading, noise and waste removal.
- Showcase prep and exhibition setup
- Product demo areas and brand activation spaces
- Maker labs, shared studios and community venues
- Creative schools, youth programmes and partner activations
Power, water and gas needs on site
Most build days need basic services rather than heavy industrial supply, but the right setup saves time and avoids stoppages. For power, plan for extension leads, multiplugs with surge protection and a safe point for charging tools or lighting. If the venue is affected by load-shedding, a battery pack or backup power source may be needed for lighting, laptops and small hand tools.
For gas, only use it where the work really calls for it, such as heat tools or controlled finishing work, and always keep cylinders in a safe, upright position with good airflow. Water is useful for clean-up, brush washing and dust control. If you are working in a municipal venue, confirm whether generators are allowed and where cables may run without blocking exits.
- 220V power supply is usually enough for light to medium workshop use
- Access to water helps with cleaning, sanding dust and final wipe-downs
- Good ventilation is needed for paint, adhesives and finishing products
- Gas should only be used with proper supervision and storage
Care during and after the session
A good build day is tidy from the start. Keep tools grouped, mark off-cuts and scraps, and use one person to check measurements before cutting. If the project has painted or glued parts, allow proper drying time before moving pieces. That avoids warped panels, sticky surfaces and damage during transport.
After the session, store finished parts in a dry place with covers where needed. In coastal areas like Durban and Cape Town, moisture can affect timber edges, metal fittings and paper-based graphics if they are left uncovered. Wipe tools, return borrowed equipment and log any missing fasteners so the next session starts cleanly. Small habits save time and money later, even if it means a few extra minutes at pack-down.
- Let painted surfaces cure fully before transport
- Keep timber off wet floors and out of direct rain
- Check fixings, hinges and joints before reuse
- Label parts so reassembly is easier next time
What to check before you order
Before booking a Community Build Day, confirm the final purpose of the item and who will use it. A display piece for a showcase needs different materials from a shared tool for a workshop team. Check size limits for lifts, doorways and vehicle loading, because a good build can still become a problem if it will not fit through the venue entrance or into the bakkie.
It also helps to confirm the finish level required. Some projects only need a working prototype, while others must look clean enough for public photos and sponsor visibility. If the work involves electrical elements, hot tools or anything that will be mounted overhead, ask for the safety plan before ordering materials. That way the team can budget properly and avoid last-minute changes.
- Final dimensions and weight of the finished piece
- Whether the build is indoor, outdoor or mixed use
- Material preference, budget range and finish standard
- Transport, storage and pack-down requirements
- Any venue rules on power, noise, waste or access times
Key facts
| Format | One-day or split-day collaborative making session |
|---|---|
| Typical group size | 6 to 30 participants |
| Duration | 3 to 8 hours, depending on scope |
| Output types | Display pieces, installations, shared tools, photo backdrops |
| Power need | Standard 220V supply, surge protection recommended |
| Best for | Showcases, activations, workshops, mentorship build projects |