
Start with the clearest version of the object
Before you even open the camera, clean the item and decide what the photo must explain. If it is a product, people need to see size, texture, edges and how it is finished. If it is a poster, garment or prototype, they need to see shape and detail without guessing. A photo that tries to show everything often ends up showing nothing well.
Put the item on a plain surface with enough space around it. A white wall, a painted board, a neutral table top or even a clean floor can work. In Braamfontein, many creators work from shared studios or small rooms, so the trick is not fancy gear, it is clearing away the distractions that sit behind the object. Small marks on the background pull the eye off the work straight away.
- Wipe dust, fingerprints and glue marks before you shoot.
- Remove labels, packaging and tools from the frame.
- Choose one main angle first, then add close-ups if needed.
- If the item is reflective, move it away from shiny walls and bright clutter.
Use daylight properly, not too much of it
Natural light is usually the easiest option, but direct sun can be harsh. Mid-morning or late afternoon near a bright window is often better than standing outside at noon. The aim is soft light that shows detail without throwing hard shadows across the work. If the room gets strong sun, hang a thin white curtain or use a sheet to soften it.
Try to keep the same lighting for the whole set of images. One photo in warm kitchen light and the next in blue window light will make the work look inconsistent. If you are photographing several pieces for a market pitch or a profile page, shoot them in one session while the light stays steady. This saves time and gives a more professional result, even if you are using a basic phone.
- Turn off mixed light sources when possible.
- Face the object toward the window, not directly into the sun.
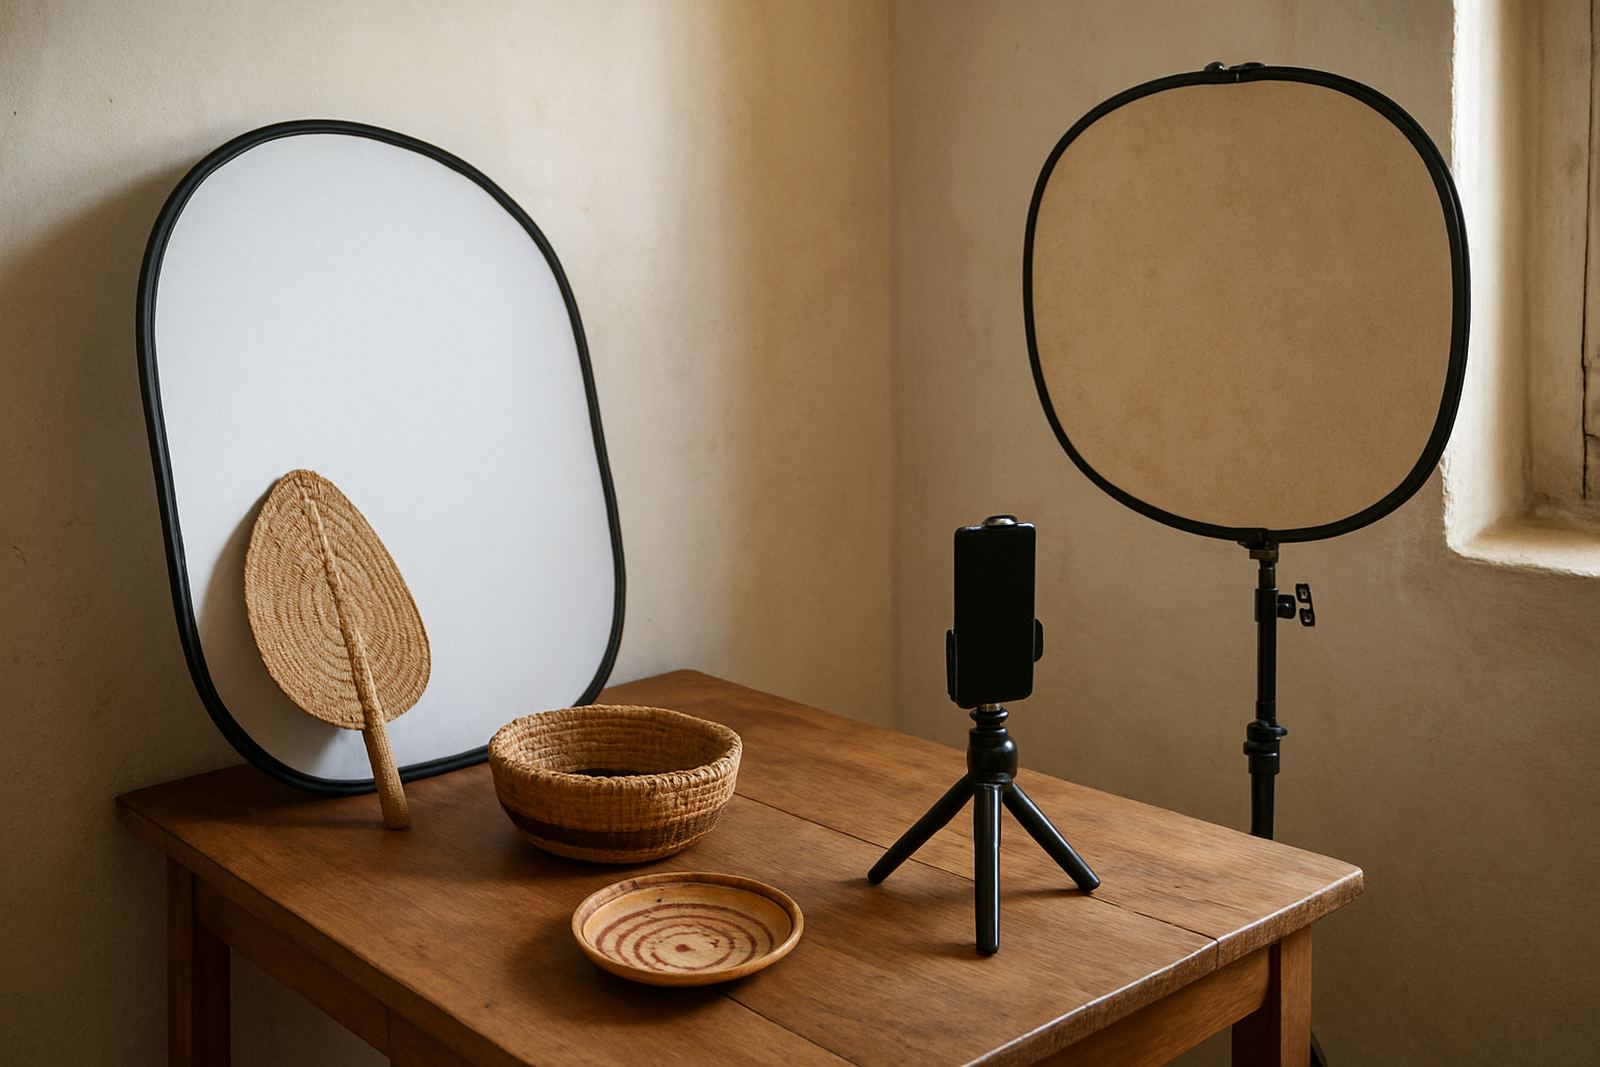
- Use a white card or piece of paper to bounce light back into the shadow side.
- Avoid shooting late at night under yellow indoor bulbs unless you have no other option.
Keep the phone steady and the image straight
Blur is one of the most common problems in self-shot images. If your hands are shaking, use both hands, rest your elbows on a table or place the phone on a stack of books. A small tripod helps, but a stable surface is enough for many shots. Tap to focus on the part of the object you want people to notice first, then hold still for a second before taking the photo.
Straight lines matter. If you are shooting packaging, furniture, prints or anything with edges, crooked framing makes the work look rushed. Stand back a little and crop later rather than pressing the phone too close. Too close can warp the shape, especially on wide phone lenses. For flat items, keep the camera parallel to the surface so the sides do not lean in awkwardly.
- Use the grid on your camera to help line up edges.
- Take one shot square-on and one from a slight angle.
- Do not pinch zoom if you can walk closer instead.
- Take three or four versions of the same frame, then choose the best one.
Show the detail people cannot see from far away
Every strong product set should include a wide image and a detail image. The wide shot tells the viewer what the item is, while the close-up proves the finish, stitching, grain, texture or print quality. This matters when you are sending work to a curator, a buyer or a collaborator. They want evidence, not only a nice-looking picture.
For makers in South Africa, detail photos also help with pricing support. If you are trying to justify a higher price point, the photo needs to show the hours in the making. A hand-painted edge, careful joinery or a clean seam says more than a paragraph of explanation. If the item has moving parts, photograph it open and closed. If it is wearable, show scale on a person or mannequin. That gives people a better sense of fit and use.
- Use close-ups for texture, labels, finishes and joins.
- Add one image that shows scale in a real setting.
- Include the front, back and side where relevant.
- For a collection, keep the same angle on every piece so the set feels consistent.
Edit lightly so the work still looks like itself
Simple editing can help, but heavy filters usually do more harm than good. Start with brightness, contrast and cropping. If the image is too yellow or too blue, correct the white balance until the colour looks honest. The goal is not to make the item look perfect, only accurate. Buyers notice when a photo promises one thing and the item arrives looking different.
Keep backgrounds clean and remove tiny distractions if needed. But do not smooth away texture, change the colour too much or add effects that hide the real finish. If your work will be shown in a portfolio, showcase or online session, consistency across all images matters more than flashy edits. A tidy set of photos builds trust. A messy set of overworked images usually raises questions.
- Crop to strengthen the frame, not to hide the product.
- Adjust exposure in small steps.
- Export images large enough for viewing on phones and larger screens.
- Save the original files in case you need them for future submissions.
A simple Braamfontein example that travels well
Picture a small maker in Braamfontein preparing images for a showcase submission and a collaboration call. The item is a hand-finished homeware piece, and the room is narrow with one good window. Instead of trying to shoot everything at once, they clear one corner, place the piece near the window and use a white board on the darker side. They take one front image, one angled image, one close-up of the finish and one photo that shows scale beside a notebook or ruler.
That set is enough for most uses. It tells a buyer what the piece is, how it looks in daylight and where the care went. It also helps if the same maker later needs images for a mentor review or a market readiness conversation. The point is not to have dozens of photos, but to have a few that answer the right questions. When your images are clear, your work can travel from Johannesburg to Cape Town, Durban, Pretoria or Nairobi without needing extra explanation.
- Use the same method every time so your photos feel like a set.
- Plan for load-shedding by shooting when daylight is strongest.
- Keep one neutral background ready for repeat use.
- Save final images in folders by project, date and format.
What to fix before you send the images on
Before you share photos with a curator, partner or community contact, look at them at full size. Ask three plain questions: can I see the item clearly, is the colour fair, and does the frame look clean? If the answer is no to any of these, reshoot rather than hoping the viewer will forgive it. A good image often comes from a second attempt, not the first one.
It also helps to match the image to the job. A showcase submission may need a neat hero shot, while a collaboration pitch may need process images and close-ups. If you are sending photos for a profile, use pictures that show both the work and the maker behind it. People in South Africa respond well to straight talk and honest presentation. The same applies to images: make them clear, useful and real, not overdone.
If you can do that, your own camera becomes a proper business tool, not just something for quick snaps.