
Start With One Clear Message
Before you pack anything, decide what the display must say. Is this a product range, a prototype, a portfolio of prints, or a mix of samples and process? Your table or plinth should answer that question at a glance. If visitors have to ask what the work is, the display is carrying too much.
For a Braamfontein showcase, keep the first read simple: name, category, price range if it applies, and one short line about the maker or studio. If you are showing at a venue with limited floor space, trim the range to your strongest pieces and leave the rest in storage. A smaller selection often looks stronger than a crowded one, especially when people are moving through fast.
- Choose one main theme for the table or wall.
- Use no more than 3 focal points on the first view.
- Keep your most detailed piece at eye level.
- Remove anything damaged, dusty or half finished.
Build the Display Around Height and Spacing
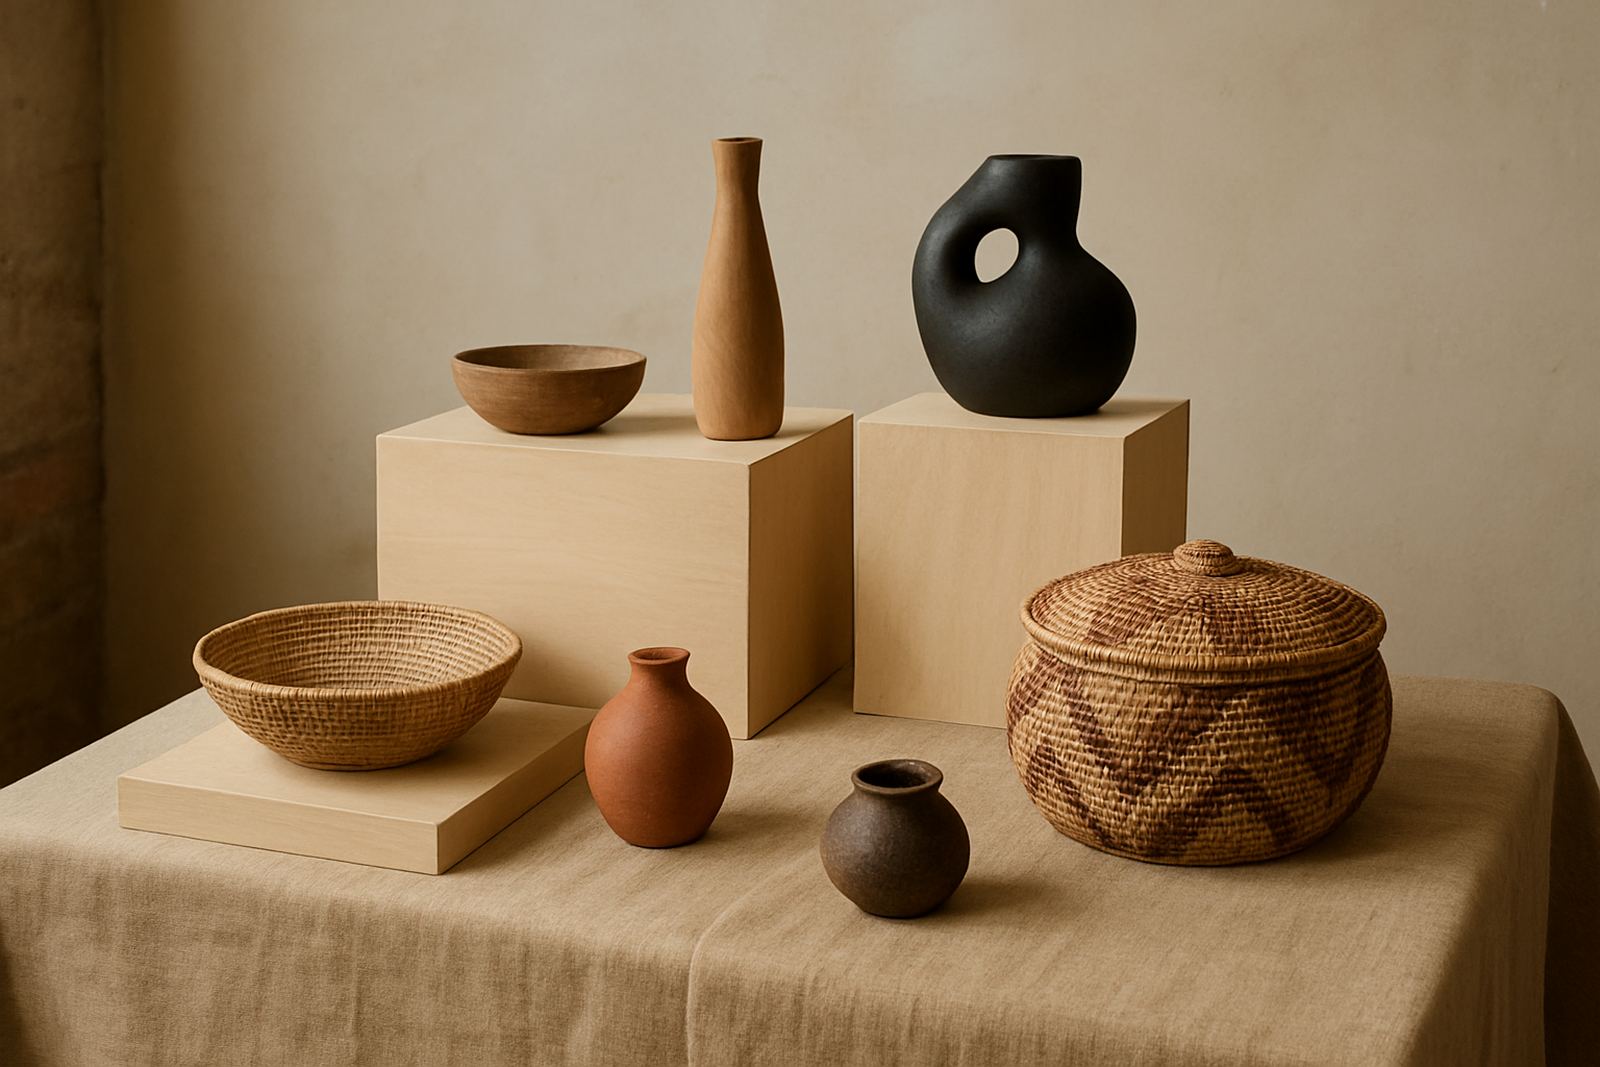
Flat layouts can look messy very quickly. Use height to create order, even if you are only working with simple crates, boxes, stands or folded board. A raised piece draws the eye, while lower items support the story. Leave enough space between items so each one can breathe, especially if the work includes small products, notebooks, ceramics or printed items that need close viewing.
In humid coastal cities like Durban or Cape Town, keep materials dry and stable. Paper can curl, adhesive can lift and fabrics can shift, so bring clips, weights and a small cloth for quick touch ups. If your venue has load-shedding or dim light, test the layout under weaker lighting before the event day, because shadows can hide important details.
- Mix low, mid and high levels for visual balance.
- Leave 5 to 10 cm between smaller items where possible.
- Keep walkways clear for visitors and the venue team.
- Use weights or tape where wind or movement may disturb the setup.
Use Simple Materials That Do Not Fight the Work
Simple materials usually show the work better than busy decorations. Neutral cloth, plain board, clean shelving and a few matching containers are often enough. Avoid shiny finishes that reflect too much light or patterned materials that compete with the pieces. If the work is colourful, let the backdrop stay calm. If the work is minimal, then the display can carry a little more texture without looking crowded.
Think about transport as well. Many creators move between Johannesburg, Pretoria, Cape Town and Durban by car, taxi or courier, so the setup should pack down without damage. Light, reusable materials are easier to carry and faster to reset if the venue changes. Keep screws, clips, labels and tools in one bag so you do not spend 20 minutes hunting for a missing part.
- Use neutral colours first: white, black, grey, wood or beige.
- Pack all fixings in labelled pouches or envelopes.
- Choose materials that can be wiped clean after setup.
- Avoid anything fragile unless it is essential to the display.
Label Things So People Do Not Have to Guess
Labels should help, not distract. A label can include the work title, medium, size, price, and a short line about the process or origin. If the display includes multiple makers, each one should be clearly identified. This is especially useful in a group showcase where people may be comparing different approaches side by side.
Keep the wording short and legible. Use one font style, a sensible size and enough contrast against the background. If you are printing at home or in the office, test a sample first so the text stays readable under venue lighting. A neat label system also helps the team during set-up, because the same names and codes can be used on packing lists, price sheets and inventory notes.
- Place the main label near the front edge or just below the item.
- Use consistent wording across the whole display.
- Check spelling, pricing and measurements before printing.
- Keep a spare set of labels in case one gets damaged.
Plan for Flow, Security and Visitor Handling
People need space to move, look and ask questions without bumping into the display. Set the layout so there is a natural entry point and a clear way out. If the venue is busy, keep the most fragile items away from the edge and use barriers only where needed. For maker-led showcases in Johannesburg, where foot traffic can be high, a tidy flow makes the whole table feel calmer and more professional.
Security matters too, even at small events. Keep cash, payment devices and stock in separate places. Have one person who knows the pricing, one who handles the product questions and one who watches the table during busy periods. If you are displaying high value work, consider simple anchor points or a covered storage box under the table for backup stock.
- Keep fragile pieces out of reach unless they are meant to be handled.
- Assign one person to greet visitors and explain the work.
- Store backups and paperwork off the main display surface.
- Make sure payment and stock handling are separate from visitor flow.
Do a Final Check Before Doors Open
Before the showcase starts, stand back and look at the table from 2 or 3 metres away. If the layout reads well from that distance, it will usually work in the room. Check for fingerprints, crooked labels, hidden cables, uneven lighting and empty gaps that look like missed planning rather than intentional spacing. Small fixes matter a lot when the room fills up.
Use a quick checklist and do not skip it, even if setup took longer than planned. A display can look finished and still have one broken stand or one label pointing the wrong way. The best setups are rarely complicated, they are just carefully checked. That final 10 minutes often decides whether the stand feels ready or rushed, and visitors notice the difference straight away.
- Wipe every surface and remove packing scraps.
- Confirm prices, names and contact details on all labels.
- Test lighting, power and any digital screens.
- Take one photo of the final setup for your own records.
After the Event, Pack and Learn
When the showcase ends, pack in the same order you set up. Group labels, tools, wraps and stock separately so the next event is faster. If anything was damaged, note it immediately and adjust your packing method. A display guide should get sharper each time you use it, not more complicated.
Also note what visitors responded to. Maybe the raised pieces drew more attention, or perhaps the smaller labels worked better than expected. Save those observations for the next chapter, whether you are presenting in Rosebank, Soweto, Newtown or online. Good display work is practical and repeatable, and a few small improvements can make a big difference over time.