
Start with a clear shot list before you pack anything
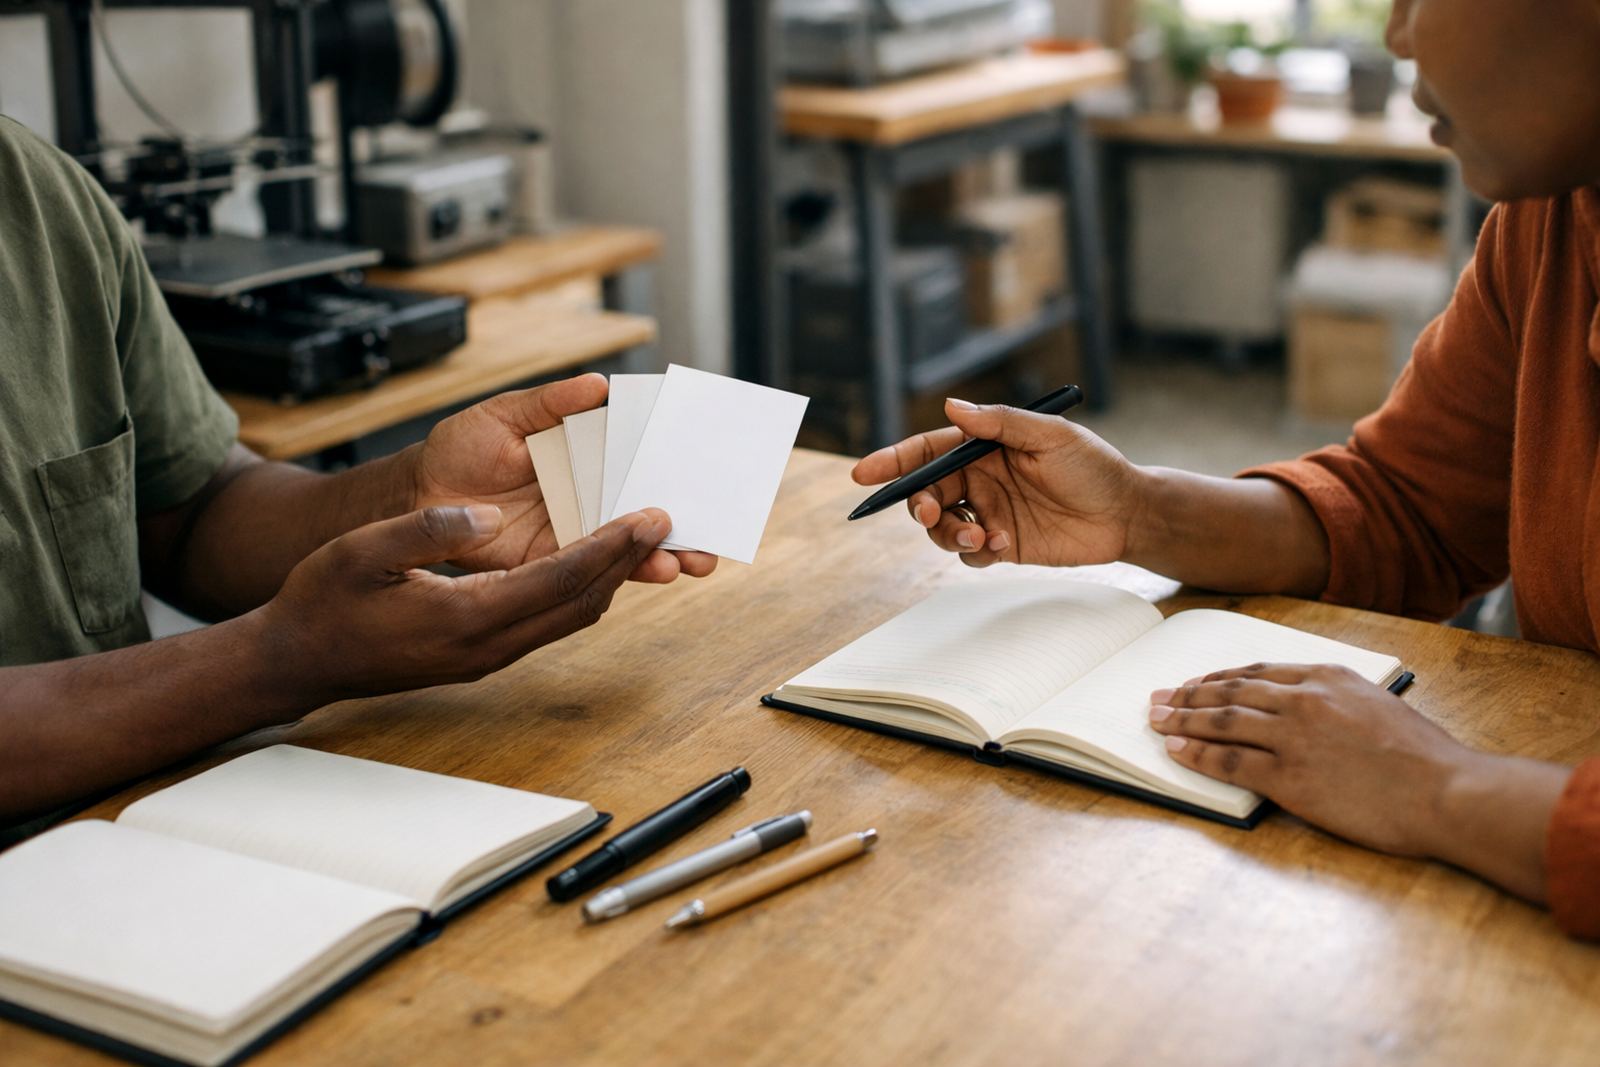
The best sessions are planned around what the images must do. Are you shooting for a catalogue, an online shop, a pitch deck, social media or a launch announcement? Each use needs a different mix of close-ups, wider scenes and detail shots. Keep the list short and practical so the session stays focused.
For example, a handmade product may need front, side and back views, a hand-scale image, a packaging shot and one lifestyle frame with a person using it. If you are showing a collection, group items by size, colour or finish so the photographer can work through them in a logical order. This matters even more when you are sharing studio time with other creators in Braamfontein or coming in from Pretoria, Durban or Cape Town for an organised session.
- List each product name and variant
- Note the exact number of images needed per item
- Mark hero shots first, then detail shots
- Include any required crop format, such as square or vertical
- Flag special images for campaigns, profiles or press use
Prepare the products so they look ready on camera
Before photo day, inspect every item like a customer would. Remove dust, fingerprints, labels that are meant to come off and any uneven packaging tape. Check stitching, edges, caps, zips, lids and finishes. If something is supposed to have a matte look, make sure it has not picked up shine from handling.
Bring only the best versions of each product, plus one extra if you can. When an item is fragile, pack it separately in tissue, bubble wrap or a rigid box. For food, beauty or consumable products, confirm storage needs and expiry dates before the session. In summer, Johannesburg heat can affect candles, chocolate, adhesives and soft packaging, so keep them cool and shaded until shoot time. That small bit of planning saves a lot of rework.
- Wipe down all surfaces and remove marks
- Check for scratches, dents and loose parts
- Pack spares for breakable or high-value items
- Keep product labels facing the same way
- Separate items by colour, size or collection
Choose props that support the story, not clutter it
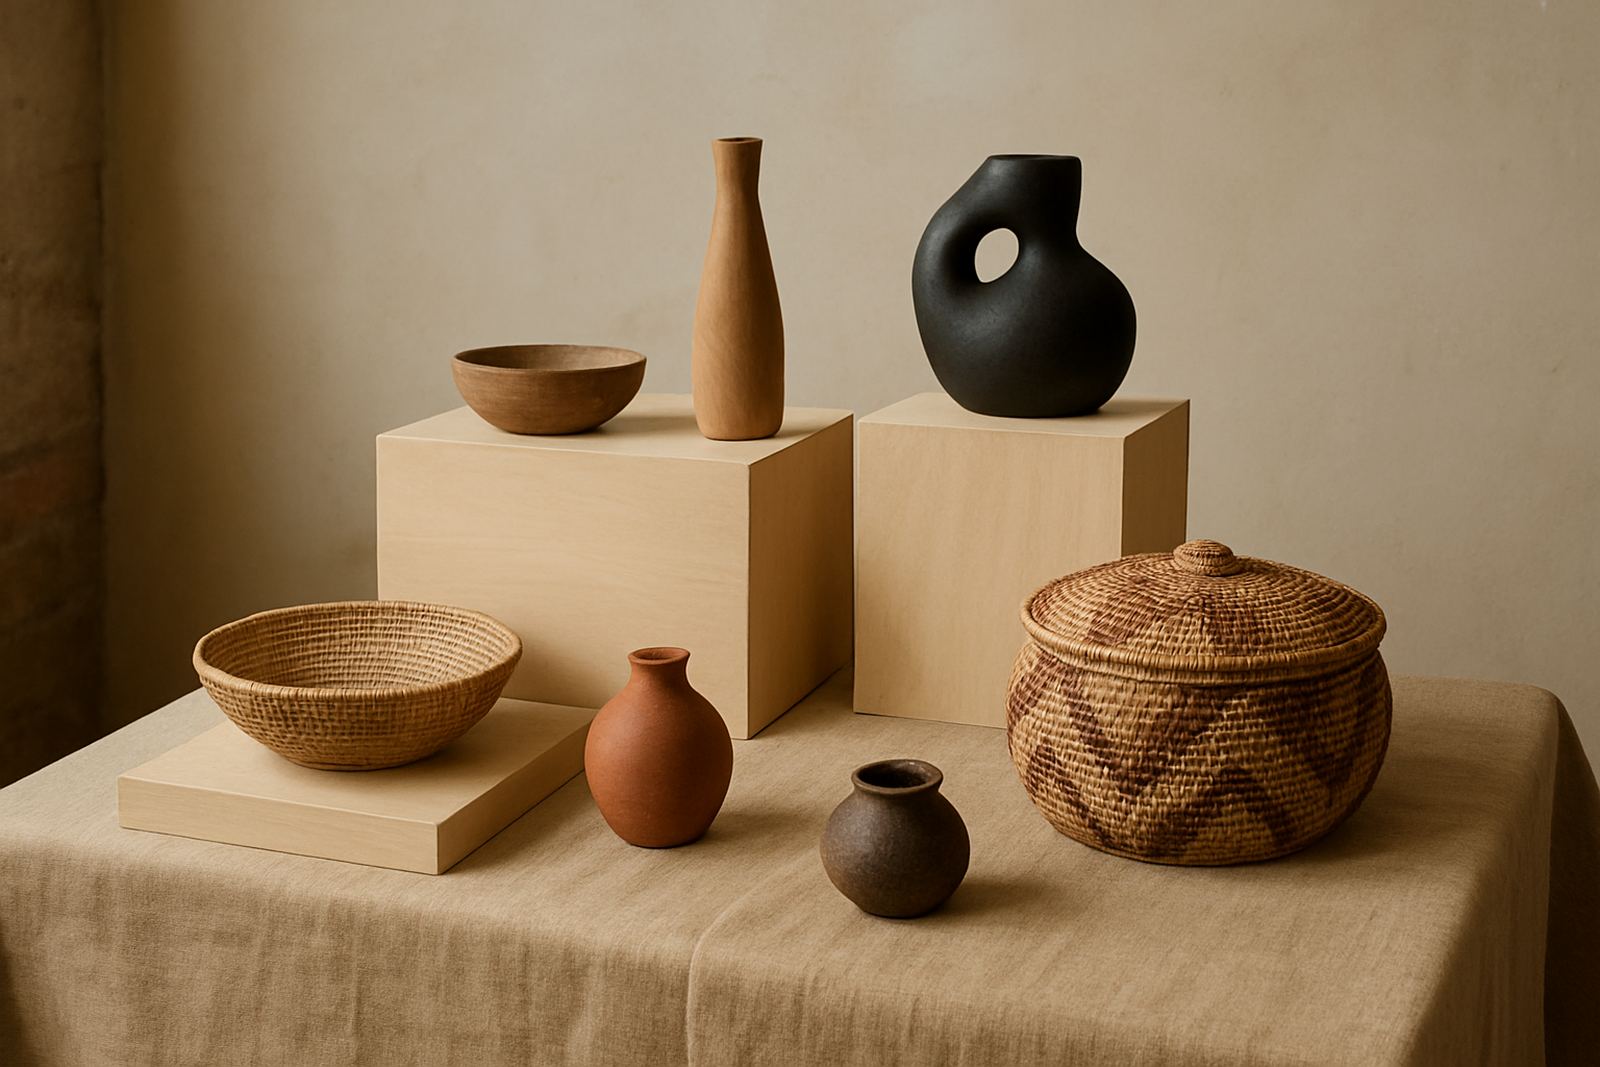
Props should explain the product, not compete with it. A good prop can show scale, use or mood, but too many objects make the frame look busy. Stick to items that match the product’s purpose and the audience you want to reach. If your work is practical and local, choose props that feel familiar and grounded, not random decor.
Think about surfaces too. A wooden board, plain fabric, concrete slab or neutral backdrop can change the mood without distracting from the item itself. If you are bringing props from home or a workshop, keep them clean and in working condition. A chipped mug or cracked frame will show up very quickly in a close shot. Also, if you are shooting in a place with load-shedding risk, pack backup props that do not need power or batteries.
- Use 3 to 5 supporting props at most for one setup
- Choose colours that sit well with the product finish
- Avoid branded packaging unless it is part of the brief
- Bring cloths, stands or blocks to vary height
- Keep one plain option ready in case the scene feels too full
Sort your styling details before the session starts
Styling is where good products become clear photographs. Iron fabric items, remove wrinkles from backdrops and check that cords, tags and price stickers are hidden unless they are part of the story. If your product has movable parts, decide before the session whether they should be opened, closed or slightly angled.
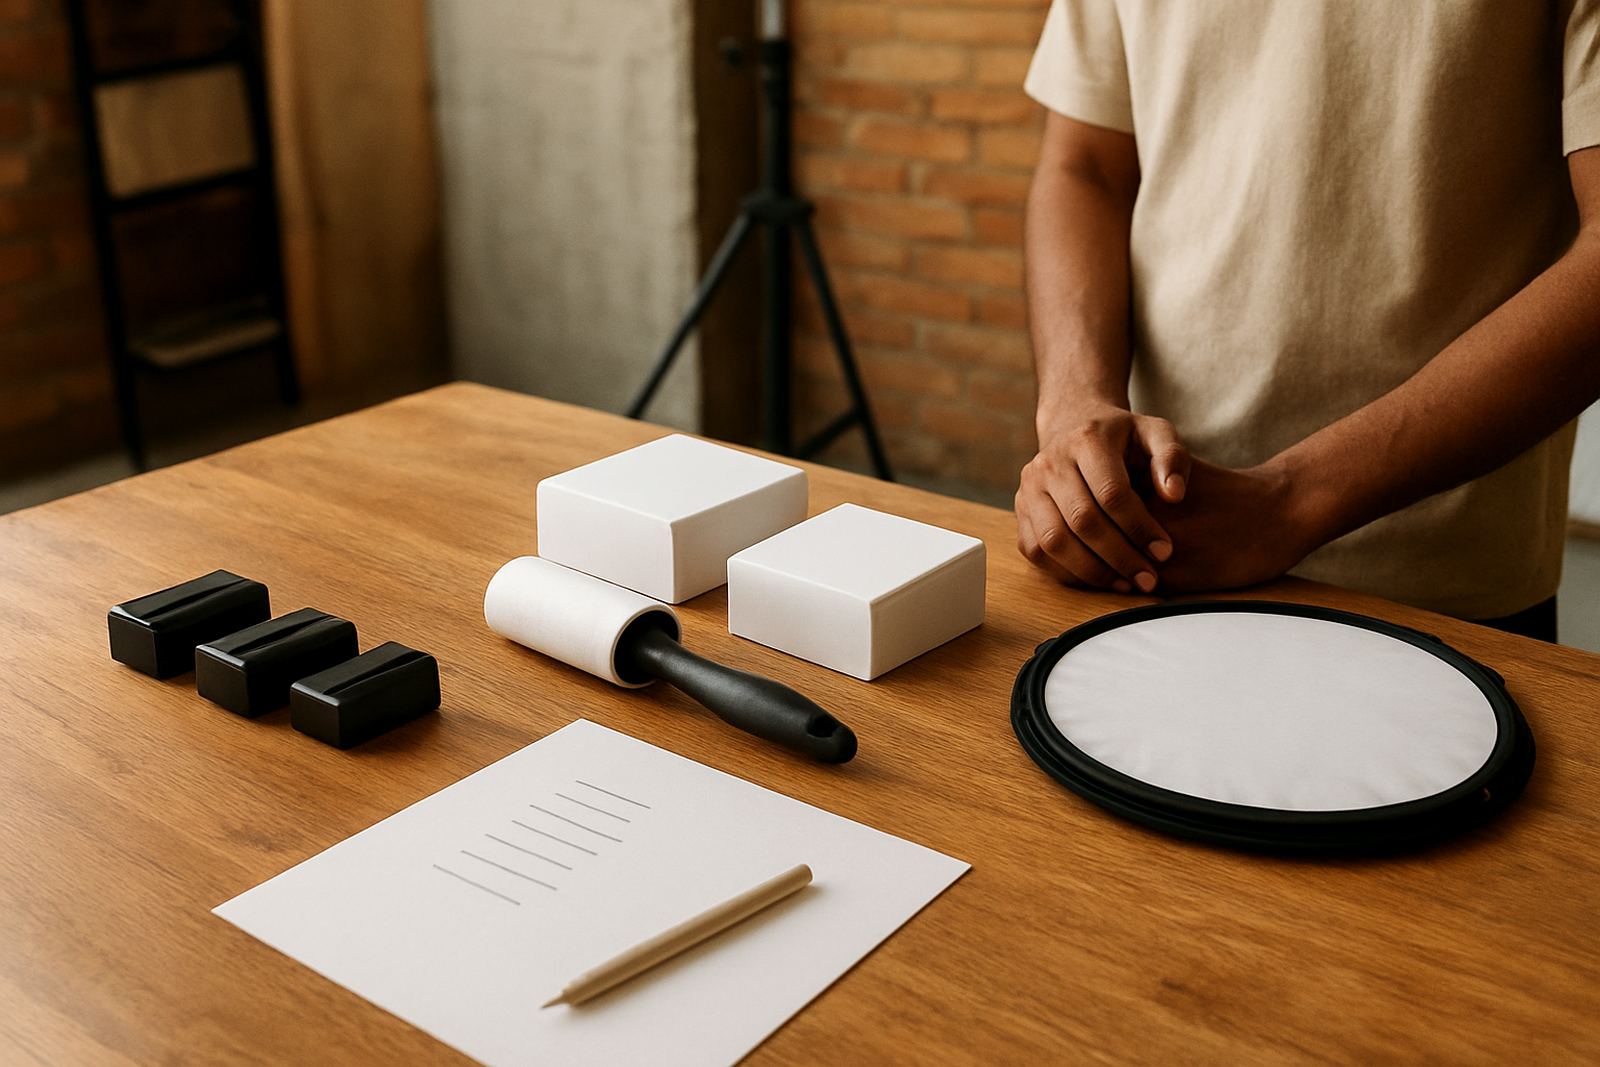
Match the styling to the way your customer would actually use the item. A notebook can be shown closed, open on a page, or next to a pen. A food product may need a spoon, chopping board or serving plate. A workshop-made object may need to be shown in hand and on a surface. Keep a small kit close by with pins, clips, tape, wipes and a lint roller. It sounds simple, but these things save time when the light is good and you need to move fast.
- Press or steam clothing and fabric items
- Remove dust, fibres and visible smudges
- Hide loose threads, tags and price stickers
- Test how the product looks from different angles
- Keep styling tools in one bag for quick access
Plan the sequence so the day moves without stress
A smooth shoot is usually a matter of order. Start with the most important product, the cleanest product or the item that needs the most setup. Then move through the rest in a grouped sequence. This reduces handling, keeps the team focused and lowers the chance of damage. If you are attending a showcase or creator session in Johannesburg, this is especially useful when several people are sharing the same space.
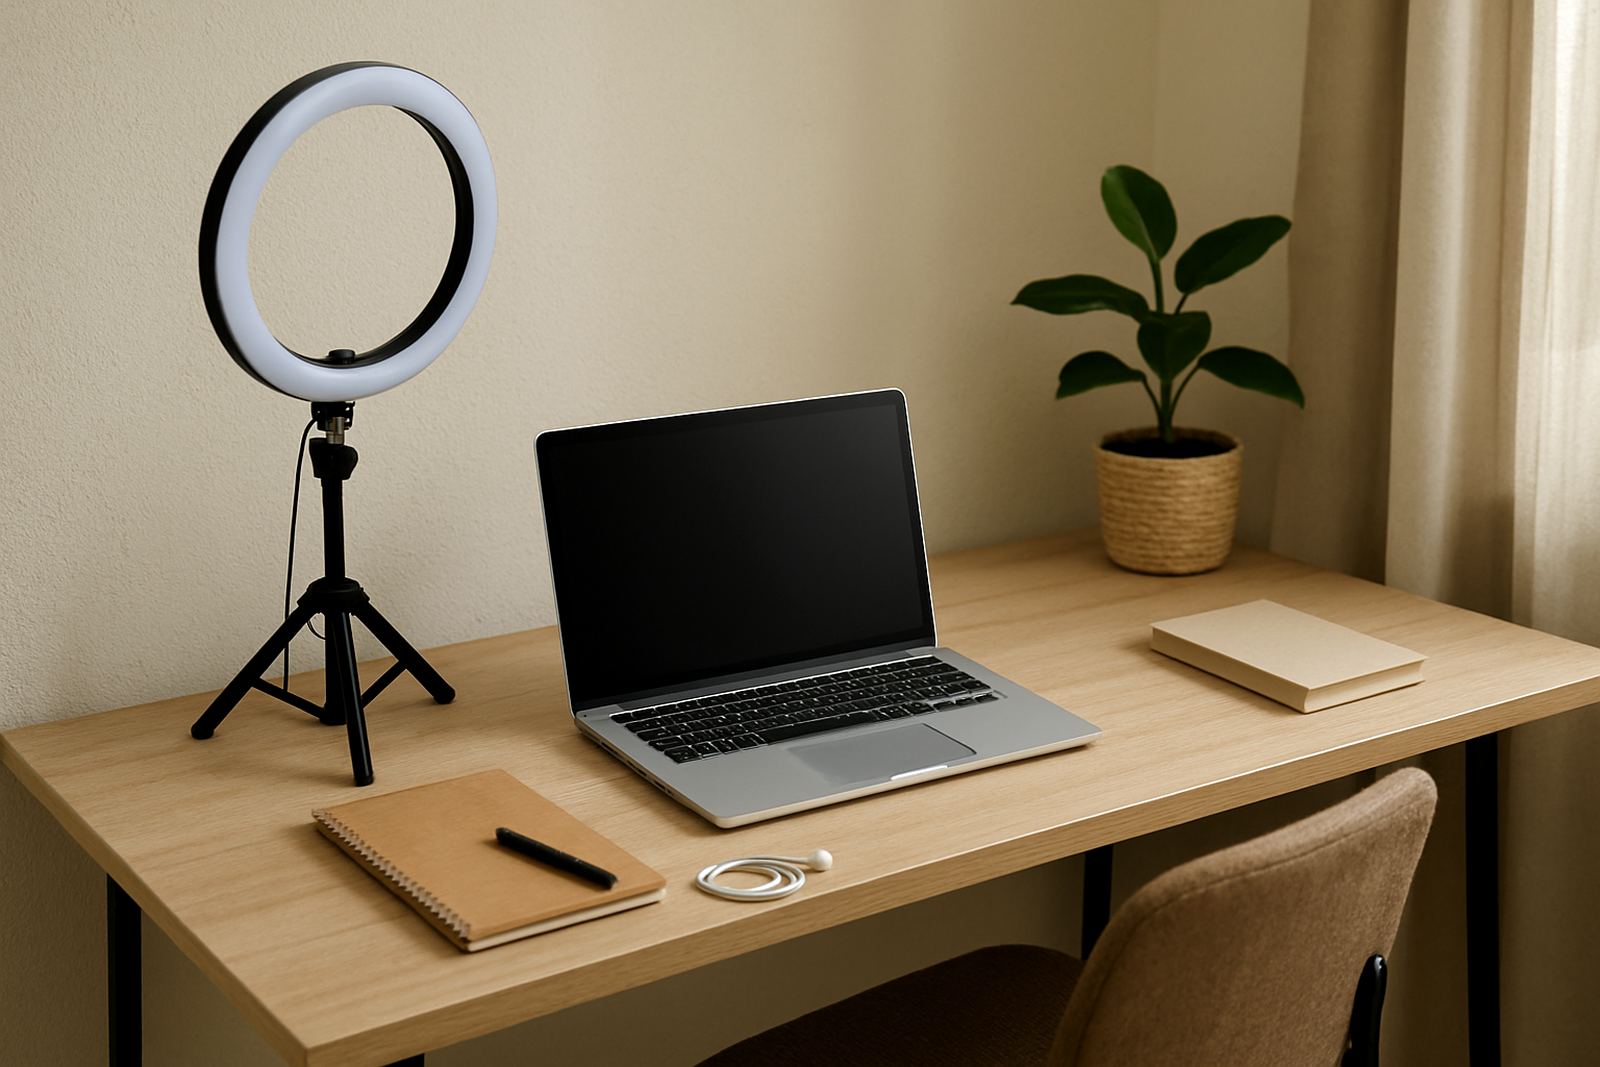
Allow extra time for unpacking, lighting changes and any last minute touch ups. If a product needs assembly, bring the right tools and do a practice run at home first. If you are coordinating from another chapter, whether Rosebank, Soweto, Newtown, Pretoria or Nairobi, make sure the items are packed in the order they will be photographed. That one step can cut wasted time by a lot.
- Put the priority items at the top of the pack list
- Group similar products together for faster setup
- Keep tools, wipes and tape within reach
- Leave time for reshoots or alternate angles
- Pack items in a way that matches the shooting order
Use the final check before you leave home or the workshop
Do one last review before you travel. Confirm that every product, prop and support item is in the vehicle or carry bag. Check that batteries are charged, surfaces are clean and any fragile pieces are protected. If you are bringing prints, samples or packaging mock-ups, count them twice. Missing one item can interrupt the whole session.
It also helps to prepare a small backup kit. Include water, snacks, a cloth, safety pins, sticky tape, scissors and a charger. If the session runs longer than planned, you will be glad you packed these. For outdoor or window-lit shoots, keep an eye on weather and direct sun. In coastal areas like Durban or Cape Town, humidity can affect paper, fabric and some finishes, so sealed containers help. Good prep means less rushing and better pictures, simple as that.
- Count every item before departure
- Pack backup batteries and chargers
- Bring a clean cloth, tape and scissors
- Protect paper, fabric and delicate finishes from moisture
- Carry water and a small snack for longer sessions
What to bring on the day
Here is a simple checklist you can print or copy into your notes. Keep it short enough to use every time, but detailed enough to avoid missing the small things that affect the final image. A tidy photo day usually starts with a tidy bag.
- Products and spares
- Props and styling surfaces
- Cleaning cloths and wipes
- Tape, pins, clips and scissors
- Chargers, batteries and power backups
- Packaging samples and labels
- Any reference images or a shot list
- Water, snacks and a notebook
If you want stronger creator imagery, the best habit is simple: prepare the products as carefully as you prepared the idea. That is what makes the session faster and the results easier to use across portfolios, campaigns and online profiles.