
Start With One Clear Work Path
In a small room, the biggest mistake is trying to make every corner do everything. Pick one main workflow and build around it: unpack, prep, shoot, pack away. If a space has to handle making, photographing and admin, then the items you use most should sit in that order, with the least used items stored higher or lower out of the way.
Measure the room properly before you buy anything. A tape measure and a rough floor plan on paper can save a lot of money, especially in Braamfontein where many studios sit in older buildings with odd walls, narrow passages and low plugs. Leave at least 900 mm for movement where possible, and keep the centre of the room as open as you can. That one habit makes the room feel calmer and it also cuts down on knocking over props or equipment.
Use Walls, Corners and Height
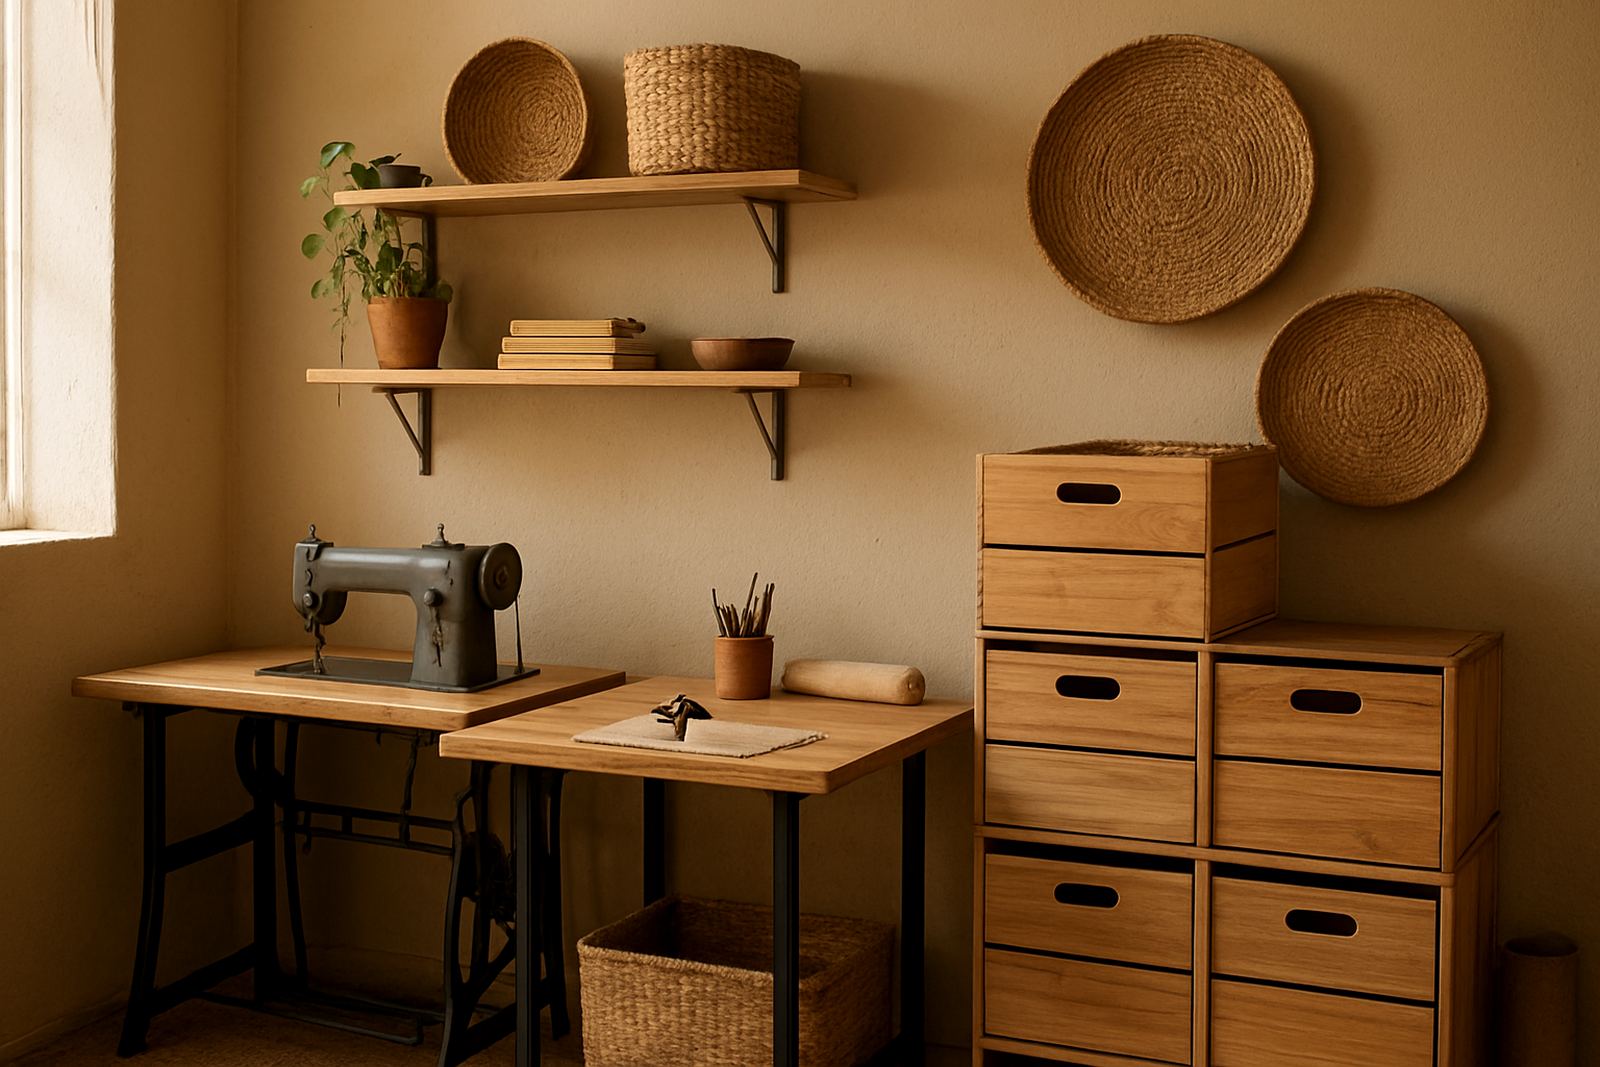
When floor space is tight, the walls must carry more of the load. Wall-mounted shelves, pegboard, hooks and narrow vertical racks help you store tools without swallowing the room. Corners are useful too, but only if you assign them a job. A corner can hold lighting stands, rolled backdrops or packaging stock, while the main wall stays clear for display or filming.
- Use vertical storage for light items like samples, notebooks and cables.
- Keep heavier stock low down so the room stays safe and easier to move around.
- Label shelves clearly, especially if more than one person uses the space.
- Choose containers that stack neatly and fit standard shelf heights.
If you work in a shared flat or a converted room, make sure storage does not block windows or emergency access. In many Johannesburg buildings, that matters for both safety and building rules. A tidy wall system also makes it easier to pack up quickly when load-shedding or guests interrupt the day.
Make Light Work Harder For You
Good light does more than help a photo look better. It shows true colour, reduces editing time and makes small spaces feel less cramped. If natural light is available, use it first and place your work area near the window. Then add a simple lighting setup that you can move when the sun changes. In a compact room, portable lights with stands that fold away are often more practical than big fixed fittings.
Try to keep the background plain and uncluttered. A small studio can look bigger on camera when the backdrop is one clean wall, a curtain or a board that you can move in and out. If you are styling products, test how the light falls across different surfaces in the morning and late afternoon. The same table can look completely different at 10am and 4pm, so it helps to know your best hour.
Build A Display That Doubles As A Workflow Station
Creators often need a space that shows work nicely and still handles real jobs. That is possible if you combine display with function. A narrow table, folding trestle or compact surface can hold a product in progress, a camera, packaging materials and a laptop without turning the room into chaos. The trick is to keep each item in a fixed place so setting up becomes automatic.
- Keep a tray or shallow box for items that must leave the room after each session.
- Use one surface for clean work and one for packing or admin if you have enough room.
- Store finished samples separately from items still being tested or edited.
- Leave one clear shelf or surface for quick display changes before meetups or visits.
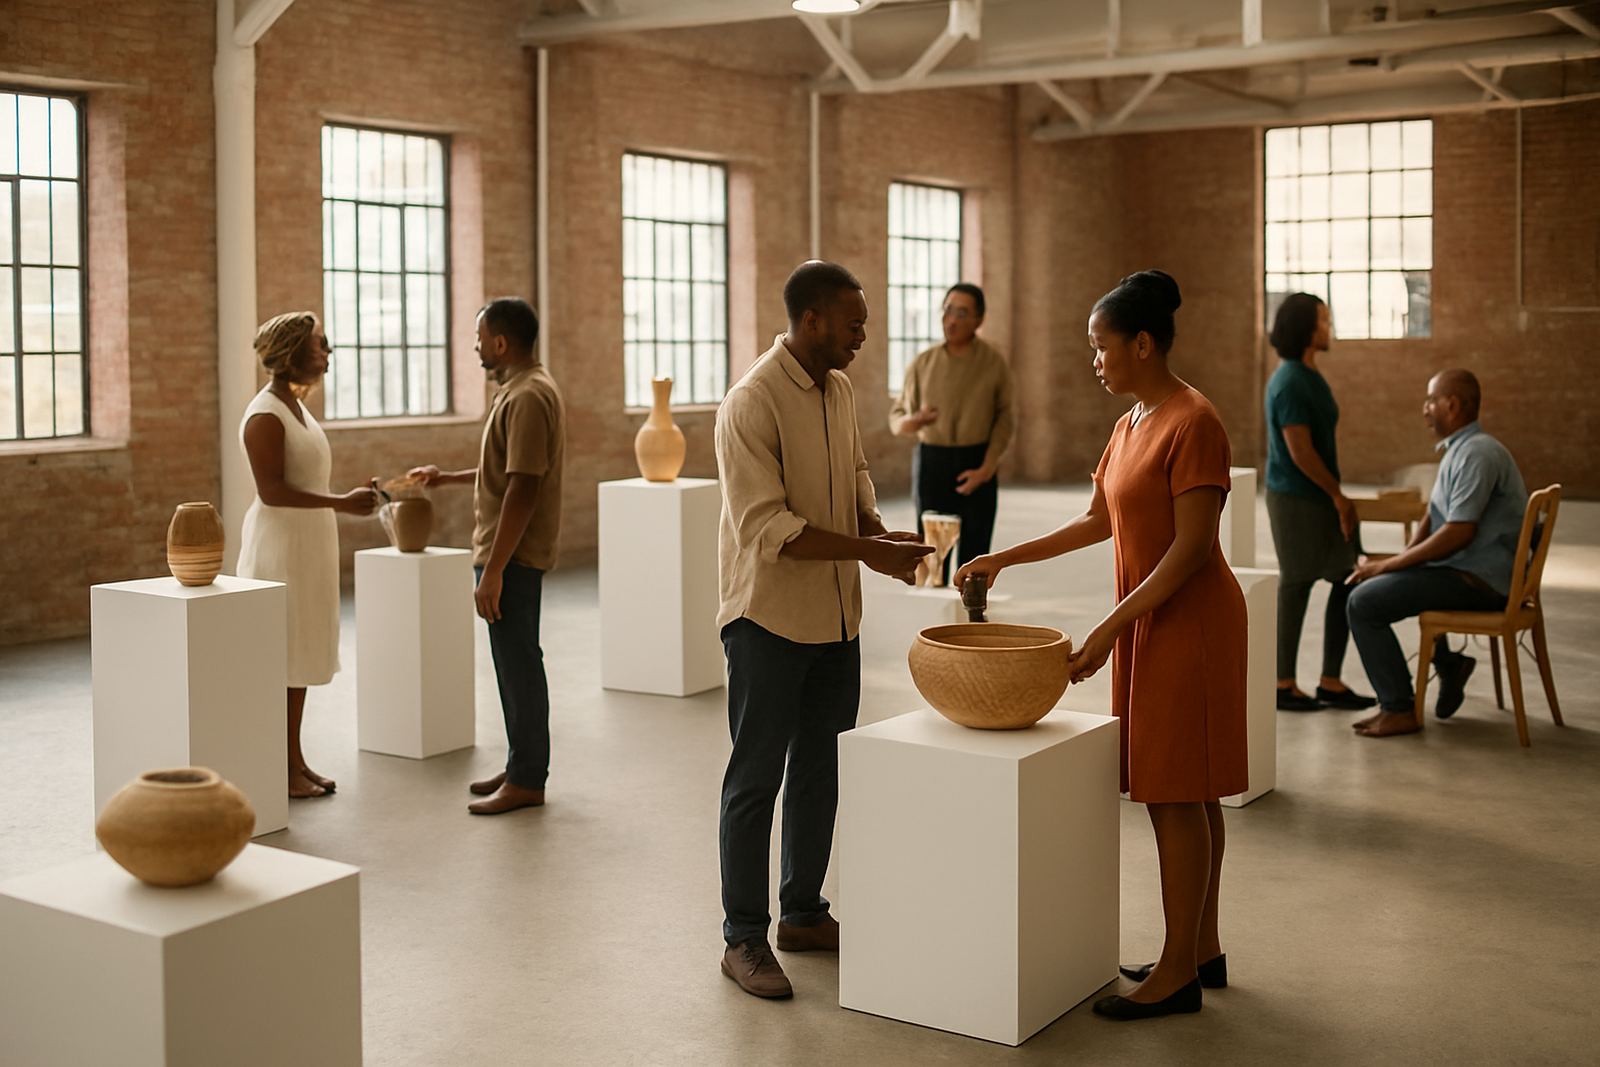
A good display area can also help when showing work to partners or mentors. If the room is too small for a long walk-through, create a short route instead: entrance, display point, work surface, storage. That simple flow makes the room easier to explain and easier to use.
Keep Tools Close And Clutter Under Control
Small spaces work best when the most-used tools stay within arm’s reach. Scissors, tape, chargers, chargers, pens and measuring tools should live in one place, not scattered across the room. Use containers with lids for loose items so dust and humidity do not damage them. In coastal areas like Durban or Cape Town, moisture can affect paper, packaging and some materials faster than people expect.
Set a five minute reset at the end of each day. Put back tools, coil cables, wipe surfaces and separate rubbish from reusable offcuts. It sounds simple, but the difference is huge. A room that resets daily does not become a dumping ground by Friday, and you will spend less time hunting for things when a deadline arrives. Small rooms punish clutter quickly, but they reward routine just as fast.
A Braamfontein Example With Real Limits
Think of a creator working from a compact Braamfontein room shared with other family members. The room has one window, one plug point that works best during load-shedding, and enough floor space for a single table plus a narrow shelf. Instead of filling it with bulky furniture, the creator uses a foldable table, a wall shelf above head height and a storage box that slides under the bed. The same space now handles product photos, portfolio updates and packing for a small showcase.
That kind of setup is not fancy, but it is practical. It lets a person work in short bursts, move items quickly and keep the room ready for daily life. In Johannesburg, where many people create from home before moving into a larger studio, this kind of arrangement is often the difference between staying consistent and giving up because the room feels too cramped.
The most useful question is not whether the space is small. It is whether the space is organised well enough for the work you need to do. Once that answer is yes, the room starts pulling its weight.