
1. Start with the point of the pop-up
Before you book a venue or print a banner, decide exactly what the pop-up must do. A product launch has different needs from a market stall, a portfolio showcase or a creator meetup. Write down the one main outcome, then add two or three support goals such as lead collection, sales, sign-ups or content capture.
Keep the scope tight. A small event that tries to do everything usually ends up with long queues, confused guests and too much stock on the table. If your budget is limited, choose the format that gives you the best chance of useful contact with the right people, not just foot traffic.
- Define the purpose in one sentence
- Choose the audience: buyers, collaborators, media or community members
- Set a simple success measure such as sales, contacts or bookings
- Decide whether the pop-up is indoors, outdoors or hybrid
- Check if the event must work during load-shedding
2. Choose a site that fits the movement
The right site can make a small activation feel busy and organised. Look for good visibility, safe access, enough shade or cover, and a clear route for people to stop, browse and leave. In Braamfontein or Newtown, for example, pavement flow and security visibility matter as much as table size. In coastal areas such as Durban or Cape Town, humidity and wind protection should be part of the discussion.
Ask the venue or site manager about power points, water access, loading times, parking and waste removal. If you are using a public area, check the municipal rules and whether you need a temporary event approval, trading permission or consent from the property owner. Get that in writing where possible.
- Is there shelter from sun, rain or wind?
- Can stock be unloaded close to the setup area?
- Is there enough light for display and photography?
- Will guests know where to enter and where to queue?
- Is there a safe place for bags, cash and extra stock?
3. Map the setup before you carry a single box
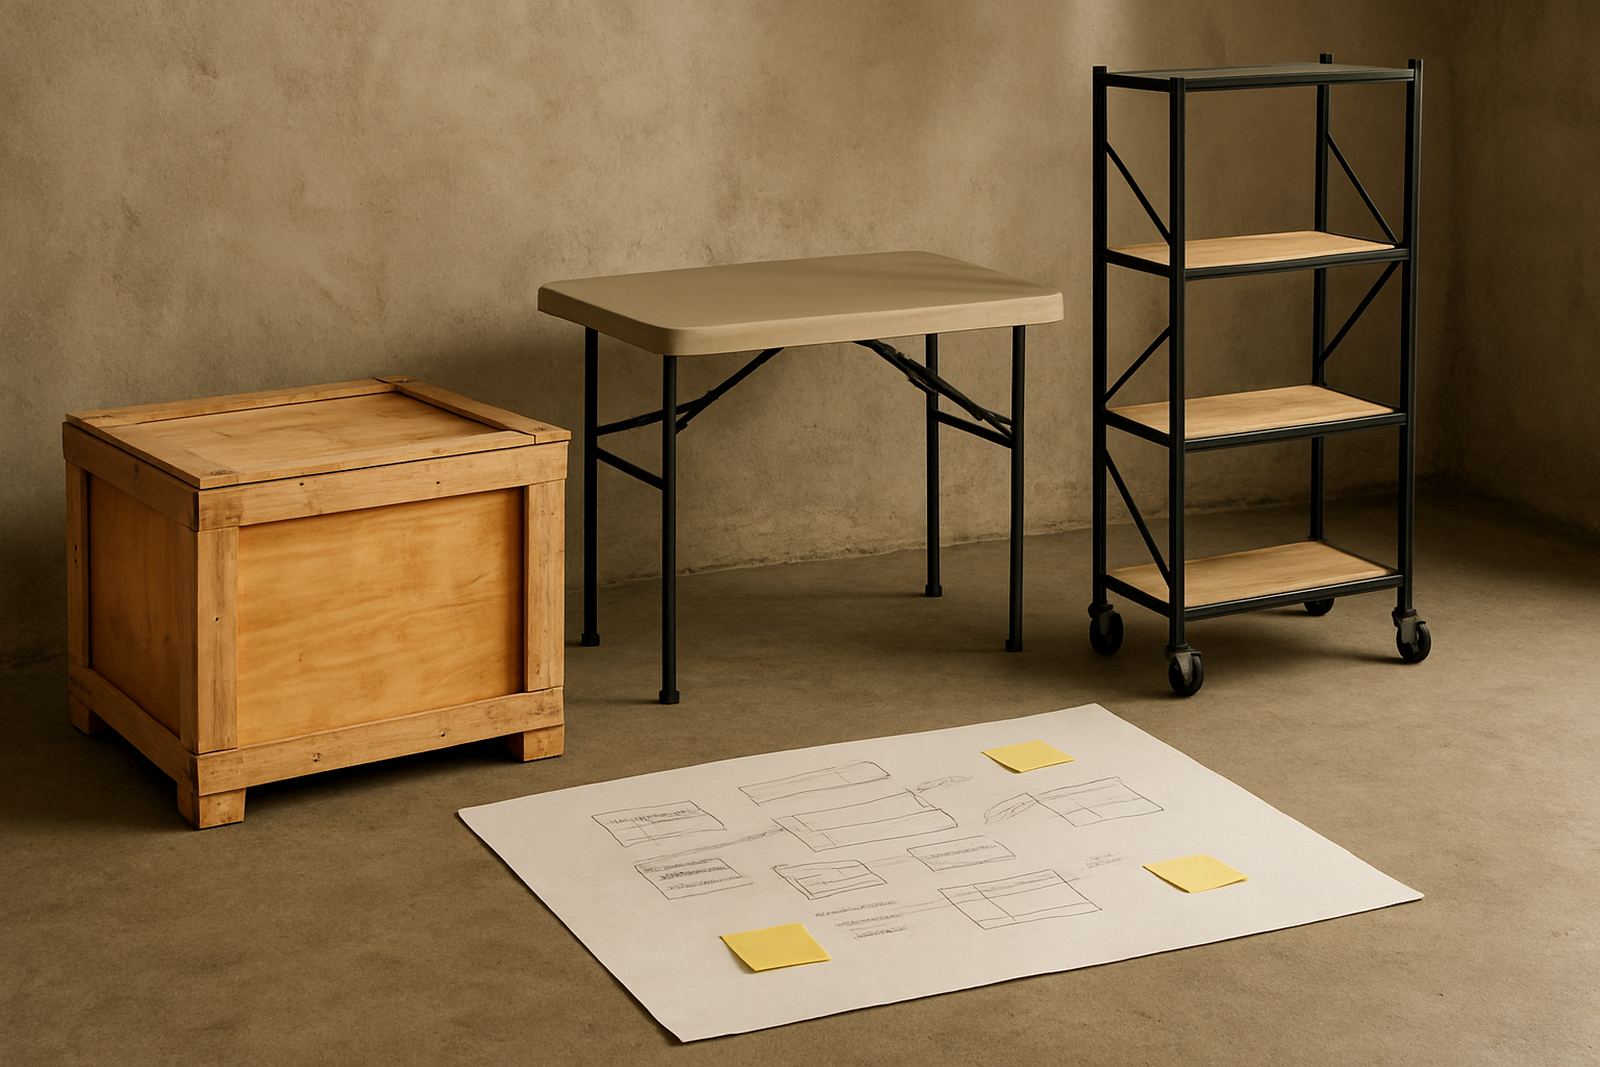
A good floor plan saves time on the day. Sketch the layout on paper or use a simple measuring plan with tables, rails, backdrop, signage, storage and payment point. Keep the customer path clear. People should see what is happening from a distance, then move naturally towards the main display without squeezing past stock boxes.
Think in metres, not guesses. A compact stall may only need 2 m by 2 m, while a styled showcase table could need 1.8 m of frontage plus space behind it for packing and movement. Leave room for a chair if someone needs to sit during a long session, and enough space for two people to work without bumping into each other.
- Measure the full footprint, not just the table surface
- Leave at least one clear route for guest movement
- Keep cables taped down and away from feet
- Store extra packaging out of sight
- Place the main sign where it can be read from a few metres away
4. Pack the right kit for South African conditions
Pop-up kits should be simple, durable and easy to move. Build for the actual conditions you face here: hot afternoons, sudden rain, dusty outdoor areas and unpredictable power. If the event may run during load-shedding, plan for battery lights, charged devices and offline payment backups. In winter, especially in Johannesburg, early evening cold can affect attendance so a blanket or heater may be worth the space.
Pack by category so nothing gets forgotten. Use clear containers, label the lids and keep one box for emergency items. That way the team can find tape, wipes or extension leads quickly instead of unpacking everything at once.
- Table covers, signage and price labels
- Power banks, charged devices and backup charging cables
- Cash float, card machine and receipt book if needed
- Hand sanitiser, tissues and cleaning cloths
- Tape, scissors, cable ties and marker pens
- Water, snacks and a small first aid kit
5. Run the day with roles, timing and a backup plan
Even a small activation runs better when everyone knows their task. Assign one person to welcome visitors, one to handle sales or sign-ups, one to manage stock and one to keep the area tidy. If the team is small, combine roles but still make the responsibilities clear before the first guest arrives.
Create a simple timeline with arrival, setup, opening, peak period, closing and pack-down. Include at least one check-in point for stock and one for photos. If something goes wrong, such as a power cut or delayed delivery, the team should know what can be removed, paused or replaced without panic.
- Arrival and setup window
- Briefing for roles and guest flow
- Sales or registration process
- Photo and content capture time
- Mid-event stock check
- Closing, count and load-out
6. Close properly, then review what actually worked
Pack-down is part of the event, not an afterthought. Count stock, clear waste, collect signage and check that no tools, chargers or personal items are left behind. If you borrowed equipment, return it in the same condition it arrived. A tidy finish protects your reputation and makes the next invite easier.
After the event, do a short review while the details are still fresh. Note what brought people in, what slowed them down and what needed more support. If one chapter or location performed better than expected, find out why. In a network like PioCreat Africa, that information can help future meetups in Cape Town, Durban, Pretoria, Nairobi or online sessions feel more useful.
- Review footfall, sales, leads and enquiries
- Note any setup issues, weather problems or power gaps
- Check which items drew attention fastest
- List what to change for the next activation
- Send follow-up messages while interest is still fresh